How to Identify Birds: Books for a Rainy Day


Your plans were to go out to your favorite hot-spot, but the weather is not cooperating. What to do now? Well, maybe you can’t go birding but there are some great books to read until the weather breaks.

What kind of books are out there on birding?

You do have a lot of choices in what to read on a bad-weather day. Perhaps you want to hear about someone’s adventures (birding narratives), stories related to birding (mysteries and such), or just learn something new about birds themselves. I’ve read quite a few books in my time, and will recommend some here, while I have many others on my want-to-read list. Whether you want to check them out from the library, browse and the bookstore or listen to an audiobook, let me provide some titles for you to investigate.

How to Identify Birds: Keeping Equipment Organized on a Bird Walk

A Place for Everything and Everything in it’s Place

When going out for a bird walk, it is very helpful to have the right equipment to carry all that you need. This could include binoculars, field guides, spotting scope, water, notebook and anything else you would like to carry. I will share with you what I have found useful over the many years of my birding treks.


Most people carry binoculars with the provided straps when purchased, but there is a better way to attach binoculars - using a harness.


Binocular Harness

One item that I did not have when I first started was a harness for my binoculars. I can’t recall how many times my binocs would swing and hit me in the chest as I was trying to maneuver my way through low shrubs and fallen trees. When I came across these, I made sure that each pair of my binoculars is equipped with them. The harness hold the binoculars around you, but not by a thin strap that puts all the weight at the back of your neck. Instead, the weight is distributed through the shoulders. The binoculars are clipped onto the straps in front and allow you to move them up for viewing, but stop them from swinging when walking or leaning over to move under obstacles. More elaborate ones have enclosures for keeping binoculars dry from rain and snow and possibly carry small additional items. See below for some of my suggestions for purchase.


A small bag will make it much easier to hold the materials needed for birding.


Field Guide Bag

Next, you’ll want to carry your field guide and notebook in something that’s small and easy to carry. The most common options are over the shoulder bag, hip bag or leg bag. I’ve used all three over the years and still vary what I use based on season, purpose and length of walk, and how much I intend to carry. The shoulder bag is probably the easiest to find and purchase and can be something you already have. Just make sure it holds the field guide you’ve chosen and will carry anything else you’ll want. This could included a notice for observations, small camera, writing instrument and perhaps a spot for a water bottle. The disadvantage with shoulder bags is the fact that you have binoculars and possibly a camera around your chest/neck already and this will be competing for space on your torso.

This brings in the next option - the hip bag. I prefer a hip bag when carrying more items that add up to more weight. You can carry quite a bit and will not feel the weight around your waist. Usually these will have water bottle holding areas along with multiple pockets for organizing your stuff. When purchasing, be mindful of the size of your field guide and what size the bag is. My Sibley field guide is the largest that I use and will fit in my hip bags easily and will go on my leg bag but will be more limited what I can carry along with it. My hip bag is from Orvis and was originally designed for fishing but works well with birding equipment. It can easily hold smaller binocs, field guide, notebook, water in the external pockets and a few snacks, plus my phone. All this and you don’t really feel the weight.

The last option is the leg bag. This is my most recent style of bag to use. I use it sparingly - to me it is for a particular purpose. This is for shorter walks or when walking around a central location where water and food can be accessed. The other reason is if I am going into an area where it will be easier to have less things getting caught on trees or shrubs. This is what I wear when conducting bird walks and only need field guide and checklists. Makes it very light and easy to carry what I need and have very quick access to it since it is just a quick reach down into the bag for a field guide.

See below for some of my suggestions for purchase.

Spotting Scope Backpack


A lot of birders will carry a spotting scope over the shoulder. Although quick to set up, it makes it difficult to use binoculars effectively. A backpack designed to carry a spotting scope can help.


This item is very exclusive to birding and I know of only one that is available for purchase at this time. This backpack will allow you to carry a spotting scope with the tripod legs extended for easy and quick setup when looking at birds at a distance. I have used this several times (acquired it about two years ago) when guiding walks that were longer and had situations where we would need a scope to identify the birds. It is a great pack to have since you can keep your hands free to use binoculars without having to take a tripod off your shoulder to switch to binocular use. I know of only one place to purchase - the Seattle Audubon Society. The link for this item is here.


Suggested Equipment available from Amazon.

How to Identify Birds: Hawk Migration is Starting

April is almost upon us and depending on where you live, the spring hawk migration is either in full swing or just ready to start. In this post, I will help you identify hawks by showing you what field marks to keep an eye out for and tips on how to find and see hawks. Oh, and you don’t need an eagle-eye to find them.


Peregrine Falcon


Types of Hawks

All hawks are not the same. There are several families of hawks and each has their unique characteristics, either behavioral or physical, which can aid in the identification of the hawks you see. The differences that you will want to look for are wing shape, body shape, body coloration, streaking, tail color and tail banding. Let’s take a look at the major families we find in the U.S.

Eagles

Bald Eagle

Golden Eagle

Eagles are the largest raptors in the US. The two species are the Bald Eagle and the Golden Eagle. The Bald Eagle is making a fantastic comeback from very low populations. They have become a common sight in areas where they would have been considered rare.

Osprey


The osprey is a fish eater and is usually seen near bodies of water. It is fairly common in its range and can be easily identified in the air with its dark back, white belly and dark eye band. The nest is also very identifiable being a gathering of large sticks at the top of a dead tree, telephone poles or osprey nesting structures placed there for conservation.

Buteos

Harris Hawk

Red-tailed Hawk

Buteos are fairly large hawks with broad rounded-edge wings and broad tails. If you’ve seen “a hawk”, you’ve probably seen birds of this family. The most common is the red-tailed hawk, which can be found over a wide area of the U.S. in different plumage forms.

Accipiters

Cooper’s Hawk

Northern Goshawk

The accipiters are the fast-flying birds of prey that will easily prey on other birds. If I were a bird, I would not want to encounter a Cooper’s hawk. I have seen them fly into a stand of trees going full speed, go through the trees at a high rate of speed and exit still chasing the bird at nearly the same speed as when it entered. I have seen them in my backyard along with the few remaining feather remains of a mourning dove. These birds will have rounded wings, longer narrower tails and are smaller than the buteos. Their flight pattern is different with several quick wing beats and glides versus the buteo with flapping and prolonged soaring.

Kites

Swallow-tailed Kite

Snail Kite

Kites are slim and trim narrow winged birds of prey found predominantly in the southern areas of the U.S.


Falcons and Caracaras

American Kestrel

Crested Caracara

Falcons are raptors with pointed wings and are quick flyers. Kestrels will hover over possible prey while the Peregrine is the fastest diving bird.

How to Identify Birds: Waterfowl Migration

The first of the annual waves - it’s waterfowl migration. An amazing sight to see each year as ducks, geese and swans head back north for the spring

I remember going to the local wildlife refuge in the spring and seeing thousands upon thousands of ducks and geese on the newly open water. For the beginner birdwatcher, ducks, geese and swans are a relatively easy group of birds to identify - at least the males. Many of the female ducks will look similar due to camouflaging plumage for nesting. Binoculars will be necessary to identify birds in areas that are moderately distant, but a spotting scope may be necessary if you are starting to watch birds on a lake or marshy areas where you cannot get closer to the birds.

Identifying Geese and Swans

Geese and Swans are larger waterfowl with longer necks than ducks. Males and females of both types are identical in plumage. Swans are the largest waterfowl, having a length of 50 - 60 inches (from bill to tail). Swans are usually white (or whitish with juvenile birds). The distinguishing marks here will be location and bill color and bill markings. Geese are smaller than swans with lengths from 23 - 28 inches. Geese have more variety in their plumage, but many species look distinctly different from others. When trying to identify geese, pay attention to the overall body plumage patterns. For example, is the body overall dark or light or white. Next, be aware of the coloring of the neck and head, as many geese have distinctive field marks in these areas. The Canada Goose has a black neck with a white chin patch while the Emperor Goose has a dark gray body but the head and back of neck are white. Spending a little time with a field guide and checking out the limited number of geese in North America will make your job of identifying geese and swans relatively quick.

Canada goose with brownish body, black neck and head with white chin patch.

Emperor goose with gray body and white head and back of neck


Whooper Swan


Identifying Ducks

Ducks are smaller than geese and swans with most having a length range between 15 - 22 inches. The plumage between males and females differs, with the males being more colorful and the females mostly brownish. This makes identifying the males of a species relatively easy between colors and patterning on the body. Some species are very similar and a spotting scope may be needed to identify the finer differences in those cases.

Overall Patterns

When seeing a duck for the first time, take note of overall coloring and body patterns. Many ducks have the sides of their bodies in large patches of color. In the pictures below you can see the Northern pintail with a gray side, the Northern shoveler with a reddish side and a canvasback with a whitish side. Next, look for head color and patterns on the head. Most of the time you will be observing ducks floating in water so these will be the two obvious parts. If watching birds on a lake or other body of water with waves, the views you get will be short due to the bird dipping down into the waves. Some distinct patterns include the eye-patch on the green-winged teal, the white patch behind the bill on the blue-winged teal, and the very obvious crest of the hooded merganser.

Northern Pintail

Northern Shoveler

Blue-winged Teal

Feeding Behavior

Another field mark to take note of is the behavior of the bird. Many ducks are dabblers, meaning they will go bottoms-up when feeding with their heads submerged. Others are diving ducks and will disappear for minutes and then reappear on the surface in a different location. This makes it harder to identify these types of ducks since you will get intermittent looks at them, and then be unsure if you are looking at the same duck when one reappears on the surface. Another type of feeder is the filter feeder. Those ducks will use their bills to move through mud and shallow water and filter that water through their bills, collecting those items that they would like to eat.

Mallard feeding - a dabbler

Green-winged Teal - a filter feeder

Red-breasted Merganser - a diving duck

Wing Patches

The last field mark that will be of interest when trying to identify ducks will be wing patches. Many of the field marks described above will be seen when the bird is on the land or water and being relatively still. When in flight though, the field marks will be very hard to see at a distance. When in flight, there can be color patterns in the middle part of the wing that will make it possible to either identify the duck or limit the number of species that it could be. I have provided some pictures of those species with these wing patches below.

Wood Duck

American Wigeon

Common Merganser

Tufted Duck

How to Identify Birds: Birding by Ear - Learning Songs and Calls

Many people will assume that you see all the birds while you are out on a bird walk. Many times, I only hear certain species but never see them. The key - learning to identify them by their songs or calls.

What’s the difference between Songs and Calls?

The best place to start, I guess, would be distinguishing between songs and calls. Calls are 1-2 note vocalizations made by all birds for various reasons, while songs are usually made by birds in the passerine family, the songbirds. Songs are larger vocal patterns, mostly for territory and courtship purposes. Calls can also be non-vocal sounds, which will be explained later.

Both songs and calls can be useful in identifying birds, depending on the situation. In some cases, you will hear the sound and be interested in finding the bird making it. In others, the call or song from the bird could be the final piece in the puzzle in being able to identify similar looking birds. Finally, you may just want to know if a bird is present in an area and will be satisfied if you can just hear audible evidence of its existence.

Songs

Bird songs are used primarily for two reasons, for courtship and for showing territories. When used for courtship, you will probably hear songs from spring until mid-summer, when the breeding season is in full swing. At these times, the songs are sung by the males in an effort to attract a mate. Concurrently, the song will alert other males that a rival is present in the area and actively searching for a mate. One of two outcomes will then happen. Either the intruding male will compete for that territory or the intruder will same his time and energy and move on to another area without competing rivals.

Birds usually sing their songs while perched from a prominent spot or may sing while moving through the canopy. Some species will sing from the ground while others, like the bobolink or horned lark, will sing while in flight.

If you are venturing out with a focus on hearing bird songs, then some planning is necessary. Birds will sing throughout the day, but you will be more successful if you go out in the early morning or late afternoon. In places that are very warm during the mid-day, birds will be coming still and quiet during the mid-afternoon hours. I have been on many walks in the afternoon and been very disappointed in seeing or hearing only a few birds.

As mentioned before, singing is predominantly for breeding, but some species will sing at non-breeding times. In migration, white-throated sparrows will sing in late fall and early spring.

Calls

Bird calls are not bird songs for several reasons. For one, they are not long enough to be considered songs. Secondly, they can be made by any bird, such as herons or gulls, not just those that are songbirds. Finally, they can be sounds that are non-vocal. The reasons for bird calls are varied. They can be for courtship or territorial purposes. Many birds will produce a characteristic call when they are in distress, such as being chased by a predator or something is near it’s nest. Young birds can also produce calls when separated from the adult or when it wants to be fed. Some species will call to gather back together if getting too separated. These examples are all of the vocal kind.

Non-vocal calls can include woodpeckers drumming on tree limbs. These calls can be very species specific and aid in bird identification. Birds will also produce calls with their wings. Duck wings produce a whistling sound when flying nearby and a ruffed grouse will use its wings to produce a rapidly-increasing drumming sound during breeding times.

Learning Songs and Calls

When I began birding, I used a field guide to identify birds by their field marks. Most of the time, that bird would be singing and calling while I was observing it. I would take the time to watch the bird and listen to it. If you hear a particular bird enough times, you will begin to remember the more obvious ones. Some songs or calls can be “translated” phonetically into phrases and more easily remembered. For example, the chickadee is called that for a reason, the Eastern bluebird with its “cheer cheerful charmer” and the classic White-throated sparrow’s “old Sam Peabody, Peabody, Peabody”.

Black-capped Chickadee

Eastern Bluebird

White-throated Sparrow

There are also CDs that can be purchased that have regional birds recorded. This allows for more repetitions for memorization. Another good reason to purchase is being able to listen to those birds when out-of-season in your area. I have also listened to CDs when preparing for a birding vacation in a new geographic region with many new birds. I have included my favorites below with links to Amazon.

I am currently checking out Peterson’s Field Guide To Bird Sounds Of Eastern North America. This guide utilizes spectrograms to learn bird calls and songs. These are images showing sound patterns graphically by pitch and length. I have had trouble interpreting these images, but am willing to take on a challenge in an effort to learn bird songs better.

There are also apps for mobile devices that you can use to learn bird songs and calls. I have used Larkwire, which quizzes you on several calls and then increases the number of birds quizzed. Again, I have listed those that I feel would be worth your time checking out.

Using Sounds to Attract Birds

When I am out birding and want smaller birds to come closer to me, I have two options available. The first is called pishing. This is accomplished by pursing your lips and opening and closing your lips repeatedly while making a “shhh” sound. This can mimic some distress calls of birds and will bring the birds closer to you to investigate the source. This is especially productive with warblers, chickadees, sparrow and some finches. Another method I utilize is a bird-caller. It is typically a wooden cylinder with pewter insert with rosin inside the cylinder. When you twist the pewter handle and press into the wood, many varied sounds of different pitches can be produced. With a little practice you can mimic some of the more common birds. It will also produce sounds that are similar to distress calls. One word of warning here though. Do not do these distress calls for long periods of time. They can stress the birds out and this is especially true during the breeding season. I will personally only do this to bring birds out of hiding so I can see what is present and only for a minute or two.


Audubon Bird Caller


NOTE: As an Amazon Associate I earn from qualifying purchases.

Next Steps

The bird song portion of my How to Identify Birds Course at OutdoorCore.

There are several ways to approach the next steps in learning bird calls and songs. Both could be considered easy, but have their difficulties, too. The first approach would be to go on walks, identify the birds that you are seeing and be patient; listen while you are watching each species. Take note of their calls and songs. I found it useful to look at my field guide while listening and read the description of the call or song. This way I could understand what they were describing in the field guide as I heard it. The second approach would be to either purchase one of the CDs below or download one of the suggested bird song apps. Some of the apps will help to identify a bird that is singing (BirdNET and Song Sleuth 2.0) while others will help you to learn the songs and calls (Larkwire).

For those really up for a challenge, once you become familiar with a good number of bird songs, I would steer you in the direction of the Nathan Pieplow book for your region.

Suggested Books, CDs and Tools to Learn Bird Songs and Calls

How to Identify Birds: Learning about Field Marks

Many people I meet say the same thing about birds and their songs - they all sound the same. With a little practice though, you will find that’s not true. As you start learning to identify birds, they may all look alike. That is, until you start to understand the importance of field marks.

What are field marks?

The key to identifying birds is learning what field marks to look for. A field mark is a distinguishing feature of a bird that helps in discerning between species. There is no set list of features to check on a bird. That’s what makes the hobby so interesting. Different families of birds need to be separated out by different features and within a family, some of those feature differences may be very minor.

Shape

The most basic field mark about a particular bird is its shape, which will usually get you down to a much smaller group from which to identify it. This will be getting down to the type of bird - sandpiper, sparrow, hawk, duck, warbler, etc.

Ruddy Turnstone - Sandpiper shape

Song Sparrow - Sparrow shape

Red-tailed hawk - Hawk shape

Mallard Duck - Duck shape

Magnolia Warbler - Warbler shape

The way to learn these shapes without knowing about birds first is to look through a field guide paying attention not to the details of each bird, but the overall look of the birds in a family. For example, what is the shape of a duck? How do all woodpeckers “look the same”? Knowing this kind of information will help you much later in identifying a particular bird. Learning the shapes allows you to look at a particular section in a field guide to try and find the bird you want to identify.

I am not trying to oversimplify bird identification, but without know what “kind” of bird you are looking at, you will end up looking through the whole field guide and end up frustrated and still without an identification.

Now, let’s assume that you have learned the basics of bird shapes. What’s the next step in identifying a bird?

Color

For me, I take note of the colors that I am seeing. You’ll need to determine which colors are on the bird later once we describe the physical parts of a bird in the next section. If you can remember the colors you saw and what shape the bird has, you may be able to identify the bird already. This will work for a limited number of birds, such as the American Robin, Eastern Bluebird, and the Scarlet Tanager.

Eastern Bluebird - Sky blue with orange breast - very distinct

Scarlet Tanager - One of the very few red and black birds

If you have browsed through a field guide already, you know that the vast majority of birds will not be identified just by shape and a few colors. We now need to move on to body parts as a field mark. Luckily, all birds have the same basic structure. Once you’ve learned the basic body parts, you will know them for all birds. Since we are talking about the basics here, I will not go into feather details here, especially in the wing. I will discuss that in a future post.

Bird Topography

Below is a photograph showing the basic bird with the major body sections labeled. The parts of a bird that will be referenced in most field guides are shown. The basic sections are the head, the back, the tail, the breast, the wing and the legs. Within some of these parts, there are smaller areas that are used in bird descriptions, such as the primary and secondary feathers of the wing.

Parts of a bird’s body

The next step in learning to identify birds will be noticing the colors of these sections. When you see a bird that you want to identify, you’ll want to take note of any of those regions with distinguishing colors or patterns in them. For example, the Wood Thrush pictured below has a rusty forehead, crown, nape and back with a spotted white belly breast. The Northern Harrier is quickly identified by the white rump patch.

Patterns

You may think that our conversation about field marks is over. Not quite yet. We’ve discussed shape, color and body parts. The next field marks to talk about are “patterns” that some birds have. These could include spotting, tail banding, breast banding, eye-rings, rump patches, outer-tail patterns, and wing bars. These are caused by differential coloring on feathers in the areas where they are found. I have provided some examples of these below.

Breast bands on a Killdeer

White rump patch on a Northern Harrier

Wing bars on a Bay-breasted Warbler

Spots on a Wood Thrush

Eye-ring on a Canada Warbler

Eye stripe on a Red-eyed Vireo

Flight patterns are another field mark to look for when trying to identify birds in flight. Many shorebirds have very distinctive patterns in their wings. As an example, see the willet below. No other shorebird will be that distinctive in flight. This may be one of the few ways to tell some shorebirds species apart.


Willet in flight with obvious flight wing pattern

Behavioral Field Marks

Other “field marks” are related to behavior of a bird. Although not considered a true field mark, some of these are critical in identifying the type of bird or the specific species you are trying to identify. The types of behavior field marks is a long list including walking of a American Crow versus the hopping of an American Robin, tree climbing of the woodpeckers, body bobbing of a Spotted Sandpiper, or the tail pumping of a Palm Warbler.

Tips To Get Better at Field Marks

When trying to identify a bird, you’ll want to make a mental list of as many field marks as you can before taking your eyes of the bird before looking through a field guide. It has happened many times to me in which I saw a bird, turned to that section in the field guide (say sparrows, for example), looked up and the bird was gone. Not making the mental list leaves you without a possible identification. Even with a few field marks, you might have a chance in identifying the bird. To aid you in this, check out my blog on documenting what you see.

Review your field guide often paying particular attention to families of birds, which will help you remember to know which field marks to be on the lookout for. When I started watching birds forty years ago, I spent many hours just paging through my Peterson’s field guide, just looking at the pictures and names of the birds. Peterson’s field guides are unique in the fact that their system of identification is to have arrows pointing at the critical field marks needed for identification of that species. Because of this feature, I always recommend the Peterson’s field guides to new bird watchers. If you have not picked out a field guide yet, click here to gain access to my review of the Top 3 Field Guides.

How to Identify Birds: Join a Christmas Bird Count this Year

The winter season will soon be upon us and you know what that means… the Christmas Bird Count is almost here! If you have just started to watch and identify birds, this is a fun event and great time to learn new birds. Many veteran birders will be out and would love to show a novice new birds.


All birds seen on the Christmas Bird Count do count, no common bird overlooked.


History of the Christmas Bird Count

The first Christmas Bird Count (hereafter, CBC) started in 1900, when Frank Chapman, a noted ornithologist, suggested counting birds seen locally. This was during a time when the National Audubon Society was just forming and the conservationist movement was starting. A great number of egrets were being killed each year for the millinery industry. The count was an event to observe birds in nature instead of removing them from nature. According to the Nature Conservancy, the largest count of birds in a census circle was 250 in Texas.

Each year from December 14 to January 5, thousands of people now participate in this event in their local area. The event is free for those participating.Here is a link to get information on the 2021 Audubon Society’s Christmas Bird Count. You will need to sign up because the count is conducted in what is called a “count circle” that is 15 miles in diameter. These areas do not overlap each other so as not to double count the birds seen. Therefore, they need to be planned out and a compiler of data assigned. Contacting one of the groups listed on the Audubon Society’s CBC site will put you in touch with a responsible party for the circle you are interested in. Plan on being one of the observers this year. Depending on where you live, don’t forget to dress for the weather.

Benefits of the Christmas Bird Count

Easier Identification

Where I live in western New York, the winters do get colder and snowier. Although the lower temperatures may keep you in when a storm rolls through, the winter is actually a good time to begin to watch birds. For those of you who live in the northern part of the U.S., most of the birds will have migrated south for the winter. This leaves fewer birds to find, but the benefit is that there are fewer species. Now, that may not seem like a benefit, but when you are just starting out and trying to learn how to identify birds, it will ease the pressure of seeing too many birds at once. Many of the birds that stay in the northern climes are relatively easy to identify, whether by behavior or field marks.


Identifying this Bohemian Waxwing is so much easier without the foliage.

Another side benefit of winter birding (if you are in the right area), is the lack of leaves on the trees. One of the toughest things for a new birdwatcher to do is be able to observe a bird through binoculars in a full-foliaged tree. If you are brand new to the hobby, you are probably still learning how to effectively use binoculars. Being able to see the bird clearly without obstructions will make your first few birding adventures more rewarding. Another benefit of being in the right area, depending on how you look at it, will be the snow. This will provide a lot of contrast as background so that birds on the ground will be more visible. During active snowfall, the visibility may be reduced through binoculars as well as plain viewing.

Local Assistance

Many veteran birders participate in CBC’s across the country. One of the best things you could do this winter is find a local CBC around you and plan on attending. On these days, the more eyes, the better to count the species and the number of individuals seen. As stated before, the number of species will most likely be manageable so that you, as a new birdwatcher will not be overwhelmed. Many local groups conduct the CBC and after the count, you can plan on joining that group, attending meetings, or just go on field trips with them. If your experience is anything like mine was, you will start seeing those same individuals out bird watching at parks, nature preserves, and other natural places near you. Many local birding groups have Facebook Groups and websites. Conducting a quick internet search for your area should yield at least a group or two that you can contact to find out more about the CBC in your area or information on where and when they meet or have field trips. To give you a quick headstart, check out the Birdwatcher’s Digest club finder.

Going along a veteran birder will make your trip more enjoyable and an educational experience.


Finding a veteran bird watching will help you to decrease the learning curve in identifying the most simple birds and give you tips on how to distinguish the more similar species. When I began bird watching, I went to the “local” Audubon Nature Center. I was 14 at the time and my father was the one to drive 45 minutes each way to get there. But for the next four years, I was probably there more than half of the weekends of the year, learning how to identify birds, practicing quiet walking, meeting other people, many of which I see almost every time I go out for a productive bird walk. There really is no other way to become comfortable identifying birds than to just put in the hours walking, checking out your field guide, and having fun all the while!

How to Identify Birds: A Day at the Beach - Identifying Terns, Gulls and Shorebirds

I write this entry as I sit on a beach at Long Beach, NY just east of New York City. For the past few days, I’ve been here, soaking up the sun.


Right off to the side, my binoculars are ready for any bird that might fly by. Many gulls are standing along the beach about two hundred feet to my left, while small sandpipers dart along the wet sand in front of me trying to avoid the waves. Making large sweeps along the beach are terns.

I’ve just described three types of birds that I am seeing here, but identifying these three families of birds are some of the most difficult birds to identify, especially for beginning birdwatchers. In some other posts, I’ve talked about getting down to seeing the important field marks for each species.

For the terns, gulls and sandpipers, there will be many similar looking birds and it will end up being a combination of field marks in most cases that will allow you to make the final call on the species. Especially with these three families, don’t be afraid to not make the final identification.

I will go ahead and give tips on how to identify the birds you might find at a beach, pier, marsh or lakeside. I am not going for species identification tips here, but rather providing information on what you will really need to start looking for in each bird to go back to your field guide and make the identification, if possible. Your locale will also help to pinpoint the species you are looking at; consulting your field guide will provide the information you need on what birds are found in your area.

Tips on Identifying the Gulls

The gulls are generally the largest of the three families I will be discussing. One feature to look for on the gulls will be the mantle color which is the back of the gull. It can be very dark, almost black as in the Great Black-backed Gull, dark gray like in the Laughing Gull or light gray like in Bonaparte’s Gull. Another important thing to note will be coloration of the wings. There are several types of feather in a bird’s wing - the primaries, the secondaries and tertials. What color is found on each while you observe the bird flying will give you a lot of information as the which species you are seeing. Patterns on the bill and leg color may be important, although these will be the last determining factor.

 
Herring Gulls in different plumages

Herring Gulls in different plumages


One of the most difficult situations with gull identification is the many variations due to seasonal plumage and plumage changes during the progression to adult plumage. These immature gulls will have mottling on the mantle and head, with several species looking very similar.

Tips on Identifying the Terns

Royal Terns

Royal Terns

Black Skimmer in flight

Black Skimmer in flight

I would consider the terns to be another group of birds that can be difficult to identify. To me, they are the more agile and active than the gulls. For terns, we want to look at several field marks in order to gather the information needed to make a correct identification.

Bill color will help to isolate the species you are looking at. In some birds, the bill is bi-colored so the combination of colors will help determine the species. Another major feature will be the color patterning on the head and face of the individual you are looking at.

The most important feature will be the coloring in the wing, both on the upper and lower wing surfaces. This may sound simple but when the bird is flying erratically and flying past you at different angles, it truly is hard to see the field marks that you need to see.

Tips on Identifying the Sandpipers and Plovers

This group includes almost 50 North American species. Many have very distinct colors and patterning, making identification rather simple. On the other hand, there are many that will challenge even the seasoned bird watcher. When looking through a field guide, each species looks very different from each other when viewed with other species for comparison. When in the field and with only an individual to look at, the uncertainty begins to kick in.

 
Ruddy Turnstone with unique breeding coloration

Ruddy Turnstone with unique breeding coloration

Unlike the other two groups discussed above, leg color will aid in the identification of some species of sandpipers and plovers. Definite field marks to note will be breast coloration and patterning, tail coloration and patterning, wing patterns while in flight, and bill length and whether the bill is curved upward, downward or is straight.

Similar to the gulls, sandpipers and gulls go through multiple plumage stages: immature, breeding and non-breeding. The time of year that you are observing may help. Most breeding individuals will be more colorful or have distinct field marks to aid in the identification.

Willet in flight with distinctive wing pattern

Willet in flight with distinctive wing pattern


How to Identify Birds: Spring Birdwatching

Spring is a fantastic time to really get involved in bird watching. So many things are happening both with the birds and opportunities for bird watchers.

Spring Migration

No matter where you live, the birds are either returning or they have been with you through the winter. For bird watchers, this is perhaps the most exciting time of the year. Some of the birds that will be seen in the next few weeks may only be passing through on their way to their breeding grounds. If you have just started bird watching, then your field guide will be a priceless asset of yours in the next month.

It would be a good idea to browse through your field guide, no matter which one you have purchased and look at the illustrations. Focus only on songbirds right now, especially the warblers. As you look at them, just make mental observations on how they are different from each other. The point here is not to memorize the differences but just to see what features change. For many birds the key field marks are eye-stripes, wing bars, cap or throat color, color patterns on the body, and so on.

 
Jot down any information you can about the bird you see. You can always look in your field guide later.

Jot down any information you can about the bird you see. You can always look in your field guide later.


As a new bird watcher, do not be afraid of not being able to identify each and every bird you see, especially at this time of the year. A lot of us only get a brief glimpse of a bird, perhaps before flying off or going deeper into the brush. Train yourself to catch important field marks which you can. These might be enough to make an identification - note the colors you see, wing bars present or absent, size, and other distinguishing features. If you can jot those down and then look through the sections of your field guide with birds that are similar, you may make a positive identification. If not, strike it down to experience, and make more mental notes on what field marks you needed to see to make the identification. This is the type of practice that will make you a better bird watcher in the future

Plumage Changes

Another reason why this time of the year is exciting is that some birds undergo a plumage change due to breeding. Plumage is the overall feather patterns and colors that a bird possesses at points in the year. One bird at my feeders undergoing this change is the American Goldfinch. Both males and females are very dull and drab throughout the winter. At this point in April, many of them have become bright yellow with some drab feathers still remaining.

Magnolia Warbler in fall/winter plumage

Magnolia Warbler in fall/winter plumage

Magnolia Warbler in breeding plumage

Magnolia Warbler in breeding plumage

This plumage in birds makes it fresh and exciting to see a bird in a different light - an old friend with a new suit. In my blog post on documentation, I talk of ways of keeping bird watching fresh if you have been doing it for a long time. Learning the plumage differences between seasons is a way to keep up on your birds and gives you a reason to pick up your field guide and study the illustrations.

New Songs

With the birds returning to their breeding grounds, they are becoming more vocal. Bird songs and vocalizations are primarily for attracting mates and letting other birds of the same species know territorial boundaries.

Having been a birder now for 40 years, I don’t recall what it is like to hear the cacophony of birds any more. I recognize the very common ones now by ear. For the beginner they may sound like noise or random sounds. To learn the songs and sounds of birds, there are websites and apps to help you learn bird songs. Refer to my upcoming blog post on bird songs for details on those.

Local Experts and Organizations

Starting to bird watch can be a little overwhelming - you are learning to use binoculars and a field guide, you’re not sure what to look for, not sure where to go. Local birding groups usually offer beginning bird watching walks where they will go over the basics of how to look at a bird and how to identify it. Good places to start are Audubon Centers, National Wildlife Refuges, and nature centers if any are nearby. If you are not aware of any of these in your area, doing an online search should yield some local groups. In today’s digital society, also check social media platforms for nearby groups. Facebook has several groups for my local area, and they are for differing levels. Some are for bird watchers (those who want watch and feed birds) and others for birders (those actively looking for certain birds. Some of these groups will help you identify birds if you were able to get a good quality photograph and give suggestions on where to go for certain birds or seasonal hot-spots in your area.

Click on the image above to find an Audubon Center near you!

Click on the image above to find an Audubon Center near you!


Click on the image above to find a National Wildlife Refuge near you!

Click on the image above to find a National Wildlife Refuge near you!

Time to get out there and go birding!

How to Identify Birds: Four Features Needed in a Bird Field Guide [FREE Top 3 Field Guides Review Video]

So, you’re interested in learning how to identify birds in your backyard or around your house? Well, you’ve come to the right spot to learn how to do just that!

My name is Alan Baczkiewicz and I’ve been birdwatching for nearly 40 years. My goal is to help you to identify the birds you see and hear so that you can enjoy a life-long hobby in the outdoors even if you’ve never identified one bird before.

In this blog post, I will tell you what features you need in a field guide and how a field guide can assist you in identifying those birds in your area. I encourage you to download the link to my free Top 3 Field Guide Review Video so that you can start your birdwatching journey TODAY!

Read more

How to Identify Birds: First Time Out Birding

I had the pleasure today of taking my friend Jen out for her first birdwatching adventure. It took a few days to get a nice warm day here in Buffalo, but the day finally came.

 
A Carolina wren was one of our great sightings on this walk.

A Carolina wren was one of our great sightings on this walk.


Not a Lot of Preparation Time Needed

We had only planned on going out a few days before this, so this was not going to be a full excursion into the wild. A state park down the road from our houses ended up being our destination within walking distance. Armed only with two pairs of binoculars and field guides, we headed out in the late afternoon, with a slight breeze blowing. About ninety minutes of sunlight became our time constraint.

Learning the Basics

Before we even entered the park, I had Jen check over her binoculars and get them ready for viewing. Before you start viewing with binoculars you want to make sure they are adjusted for your eyes. This is simple thing to accomplish and takes only a minute or two.

First, while looking through your binoculars, close your right eye and using the focusing knob to foucus on an object with some nice crisp lines (a stop sign, a license plate). Remember this is only using your left eye to look. Once you’ve done that, keep the focusing knob where it is and switch eyes - close your left and use your right eye to look. Now, keep the focus where it is, but adjust the right eyepiece. Turn the eyepiece until the same object is in focus. This will adjust for any differences in eye strength. When you focus on any object now, both lenses will move at the same time and maintain focus for both eyes.

Jen was able to do this in a minute or two using a stop sign. Now, everything she was going to look at was going to be in focus for the rest of the walk.

Two Essential Skills

As we passed over a bridge across our local creek, we paused to practice two other important skills to learn: How to communicate where a bird is and how to quickly look at a bird using the binoculars. The first skill is always tricky. It is hard to describe to someone where a bird is sometimes. “It’s on that branch over there” said in the woods mean very little. The best way to help someone see or find a bird is to provide a landmark object - a distinctive tree, an odd-shaped branch, a background object to give reference directions from. Providing approximated distance off the ground will also help. Sometimes it may just be easier to start with a nearby object and just talk them through a series of directions - “see that reddish bush - look at the tree behind it- go to the top of that tree - go to the right side - see that large dead snag - the bird is on that snag”.

The second skill ties right in with the first. Once you know where the bird is, now you’ve got to get the binoculars on it. This can take some practice, but Jen did a fantastic job on her first outing. The way to practice this skill is to find an obvious object. Then bring the binoculars up to your eyes without looking away. If you continue to practice doing this, you will get to a point that when you bring the binoculars up, you will be looking at the bird in your field of view.

Our Sightings Using Field Marks

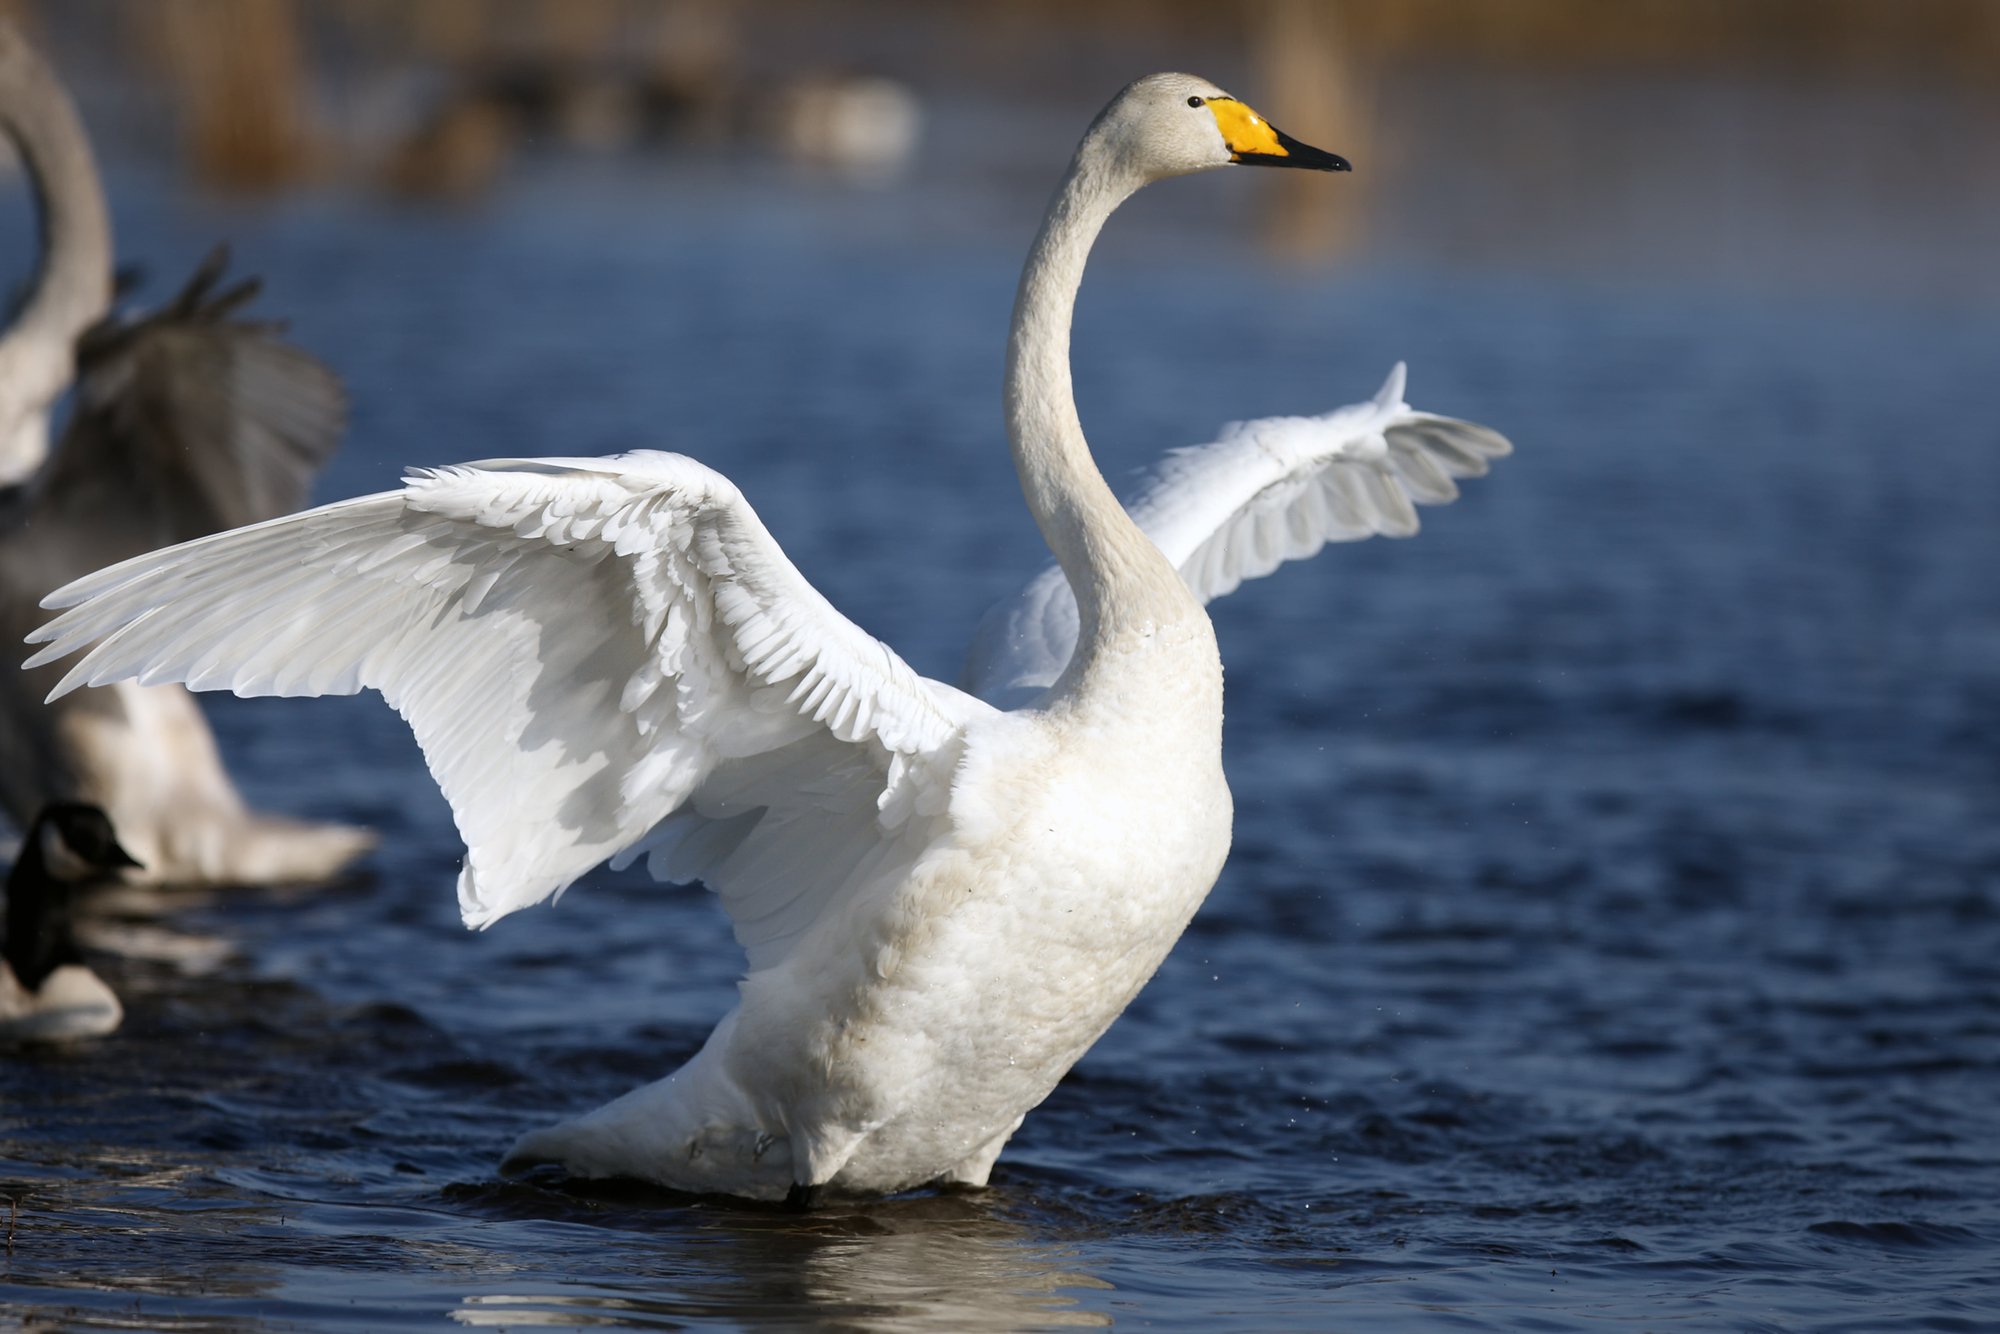
After spending about fifteen minutes practicing the above skills, we walked on into the park. The park has a creek running through it and is wooded in one area and has two large fields on opposite sides of a nice arching bridge. March, in Buffalo, is still pretty quiet bird-wise. Our migrants are starting to show - red-winged blackbirds and robins arrived last week. Turkey vultures are starting to dot the skies again. Jen and I walked quite a ways before we started to see and here birds. It was fun for me as a veteran birder to be out on someone’s first walk. Each song and call is new, each bird is new with interesting field marks. Learning squirrel chatter takes time, so now we waste time looking for a bird, when it’s only a red squirrel.

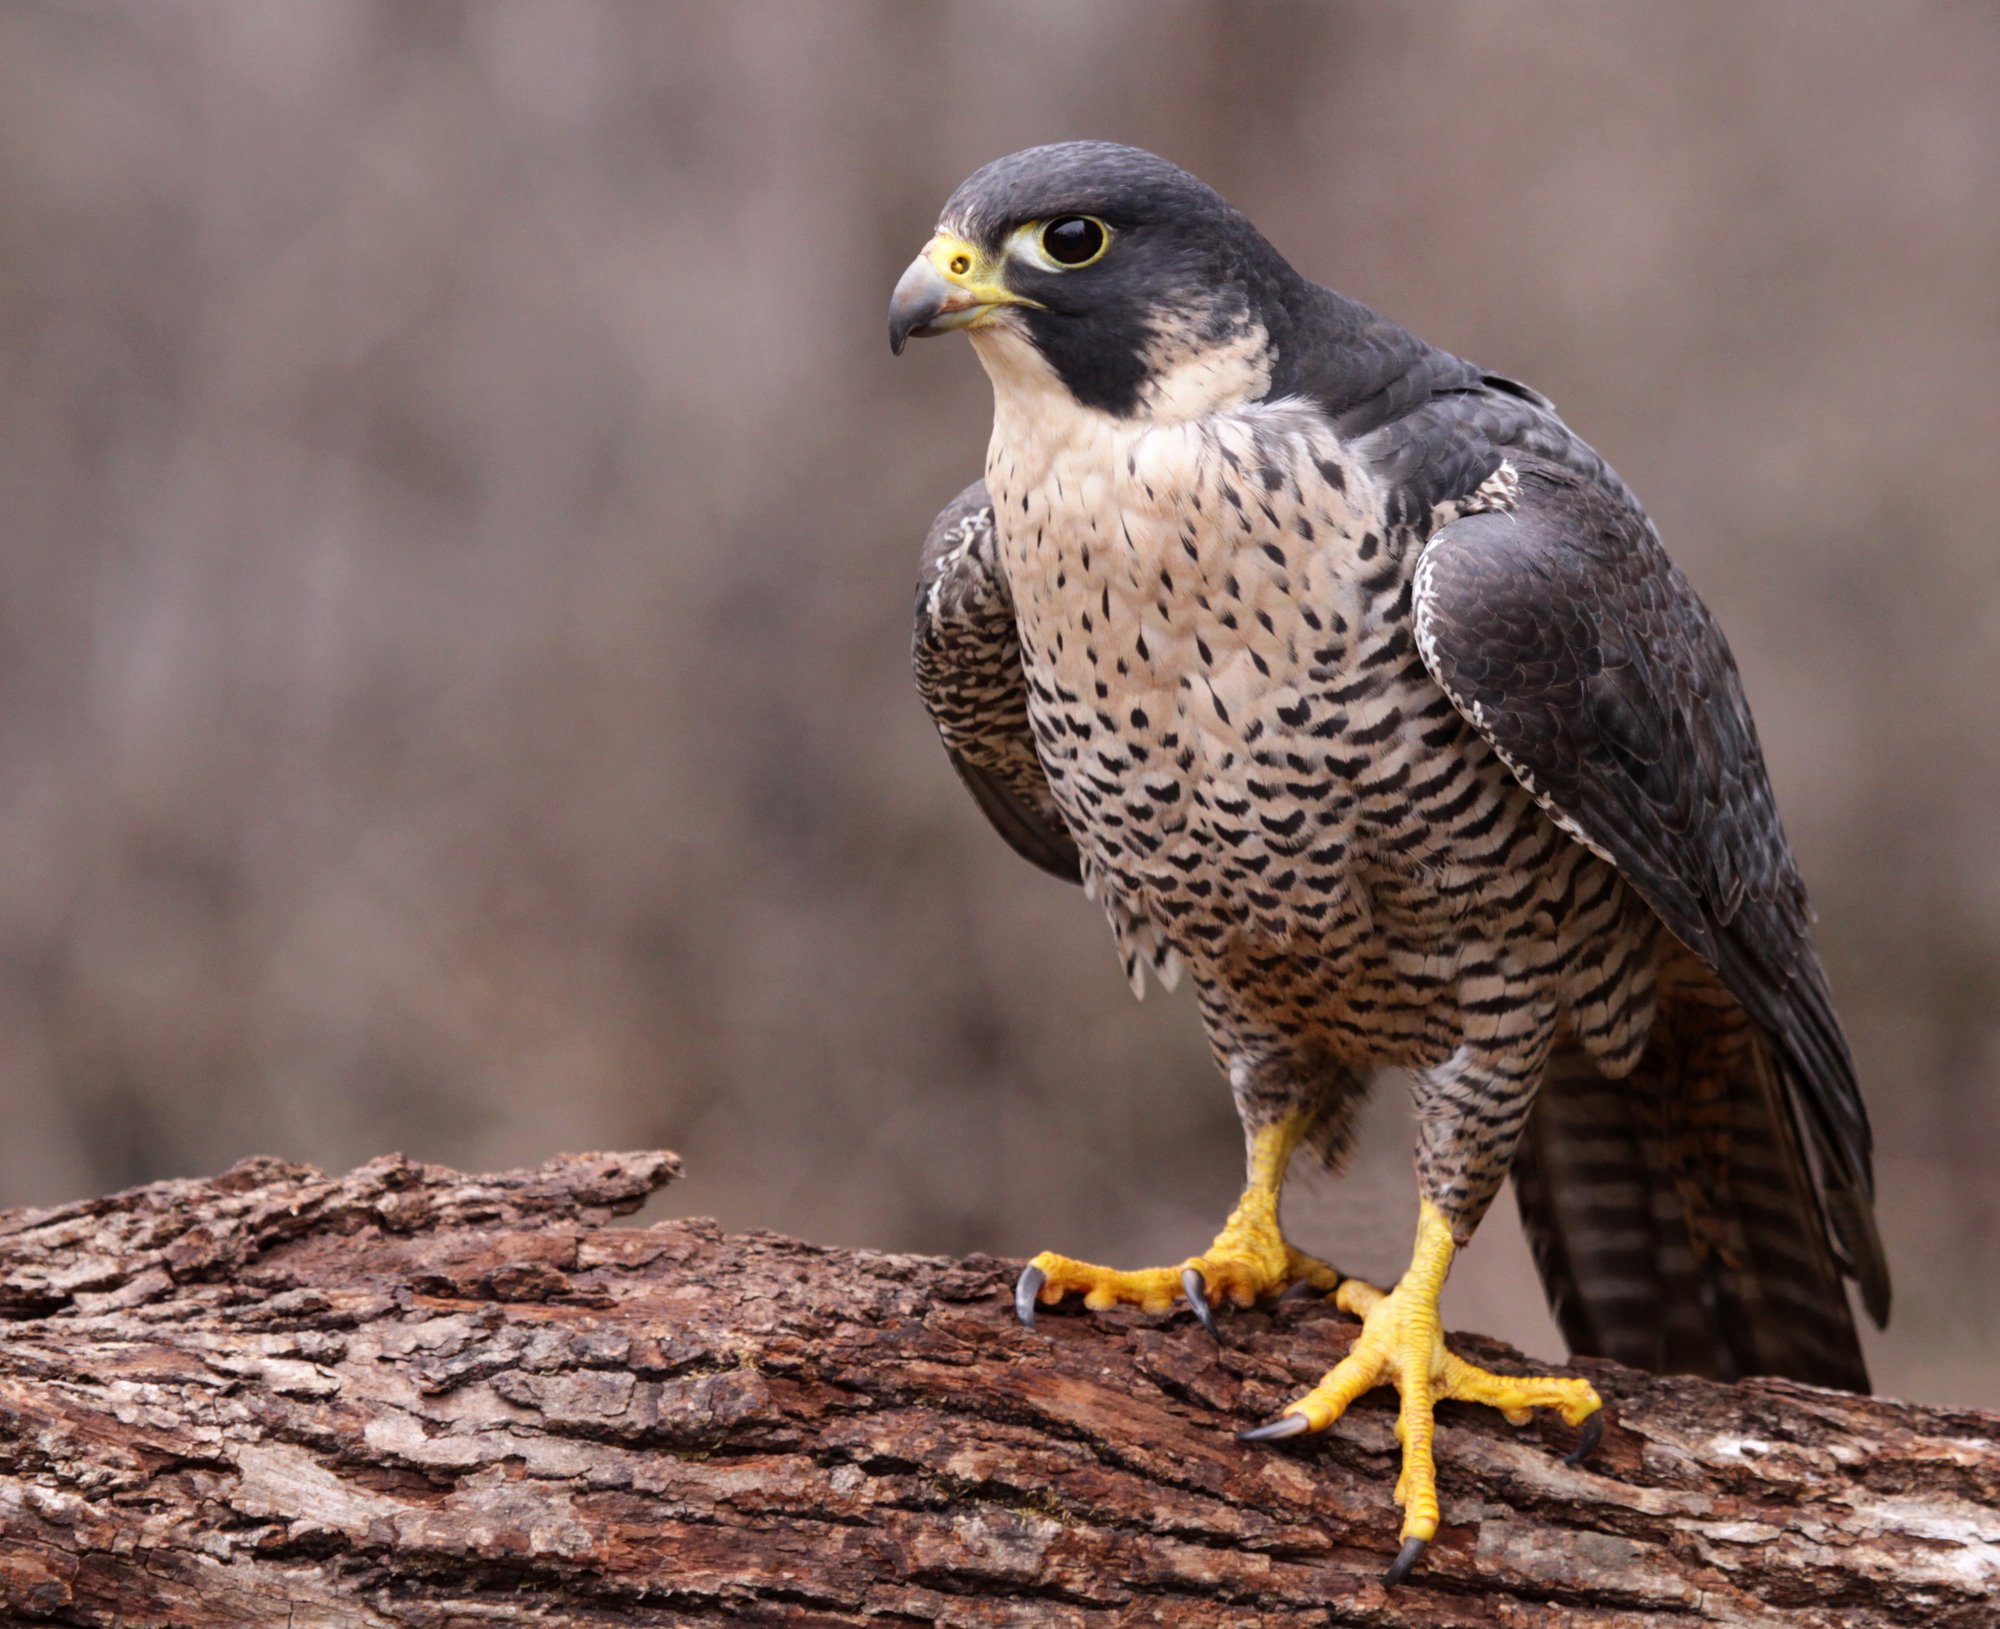
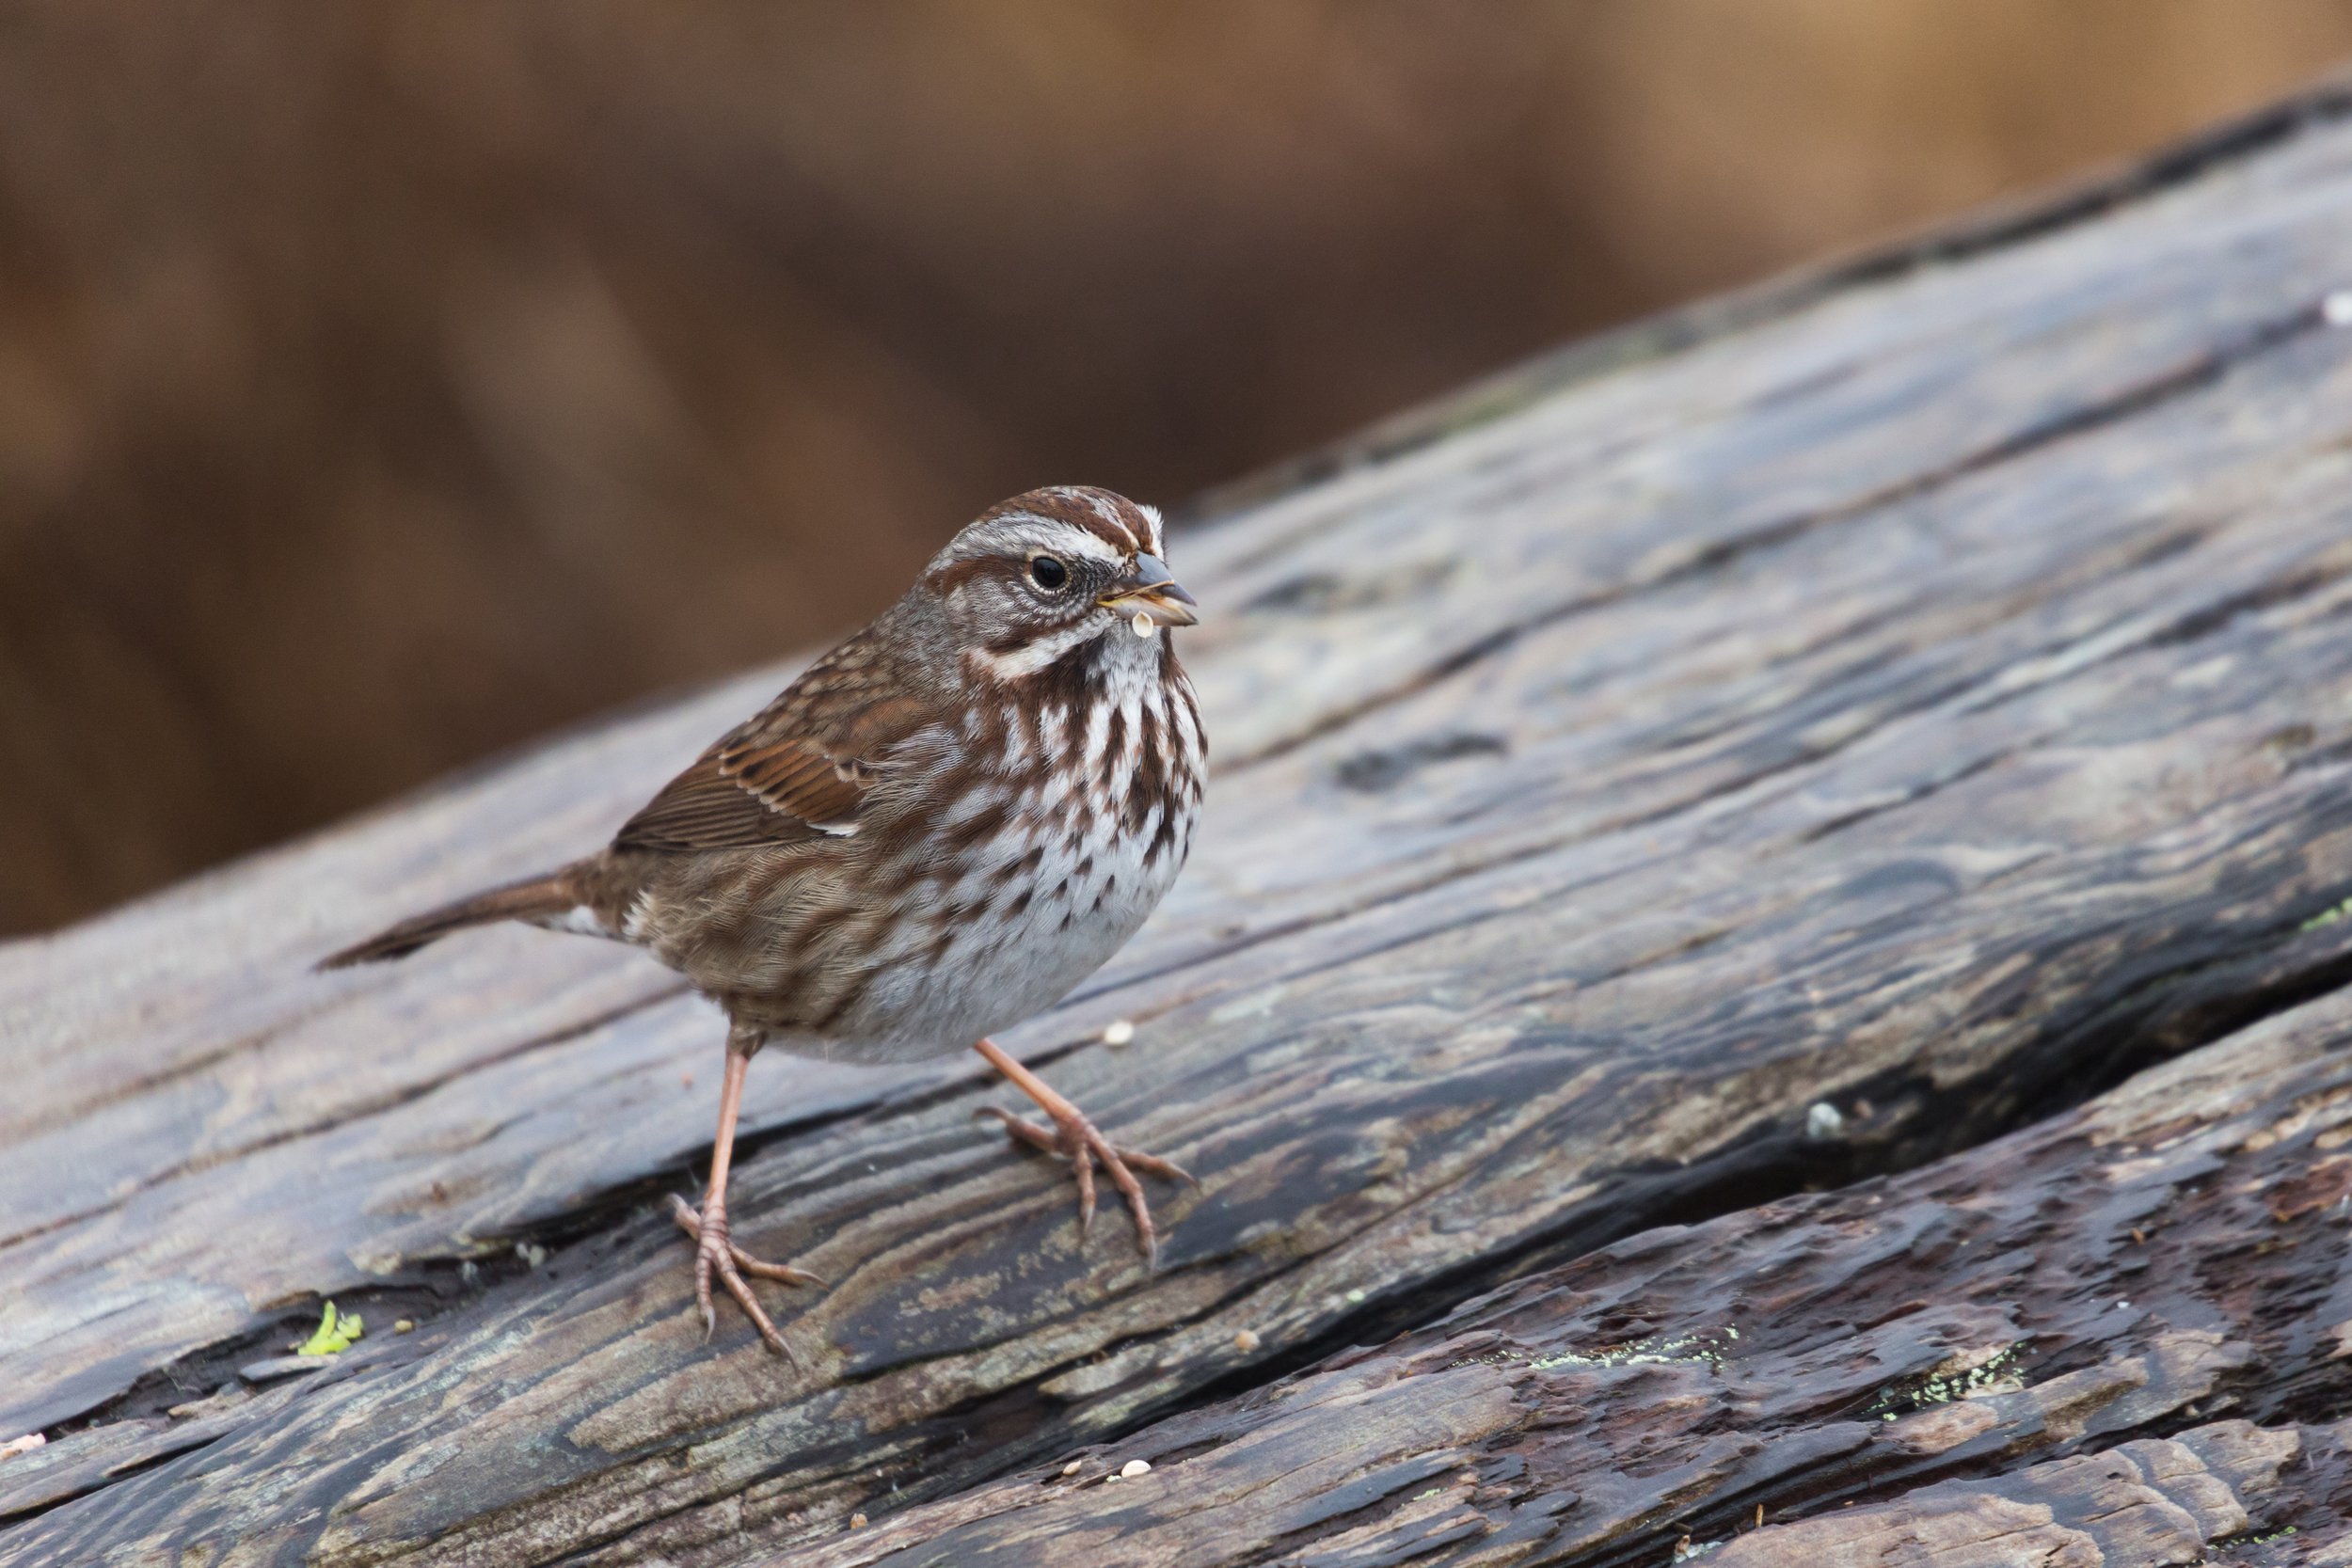
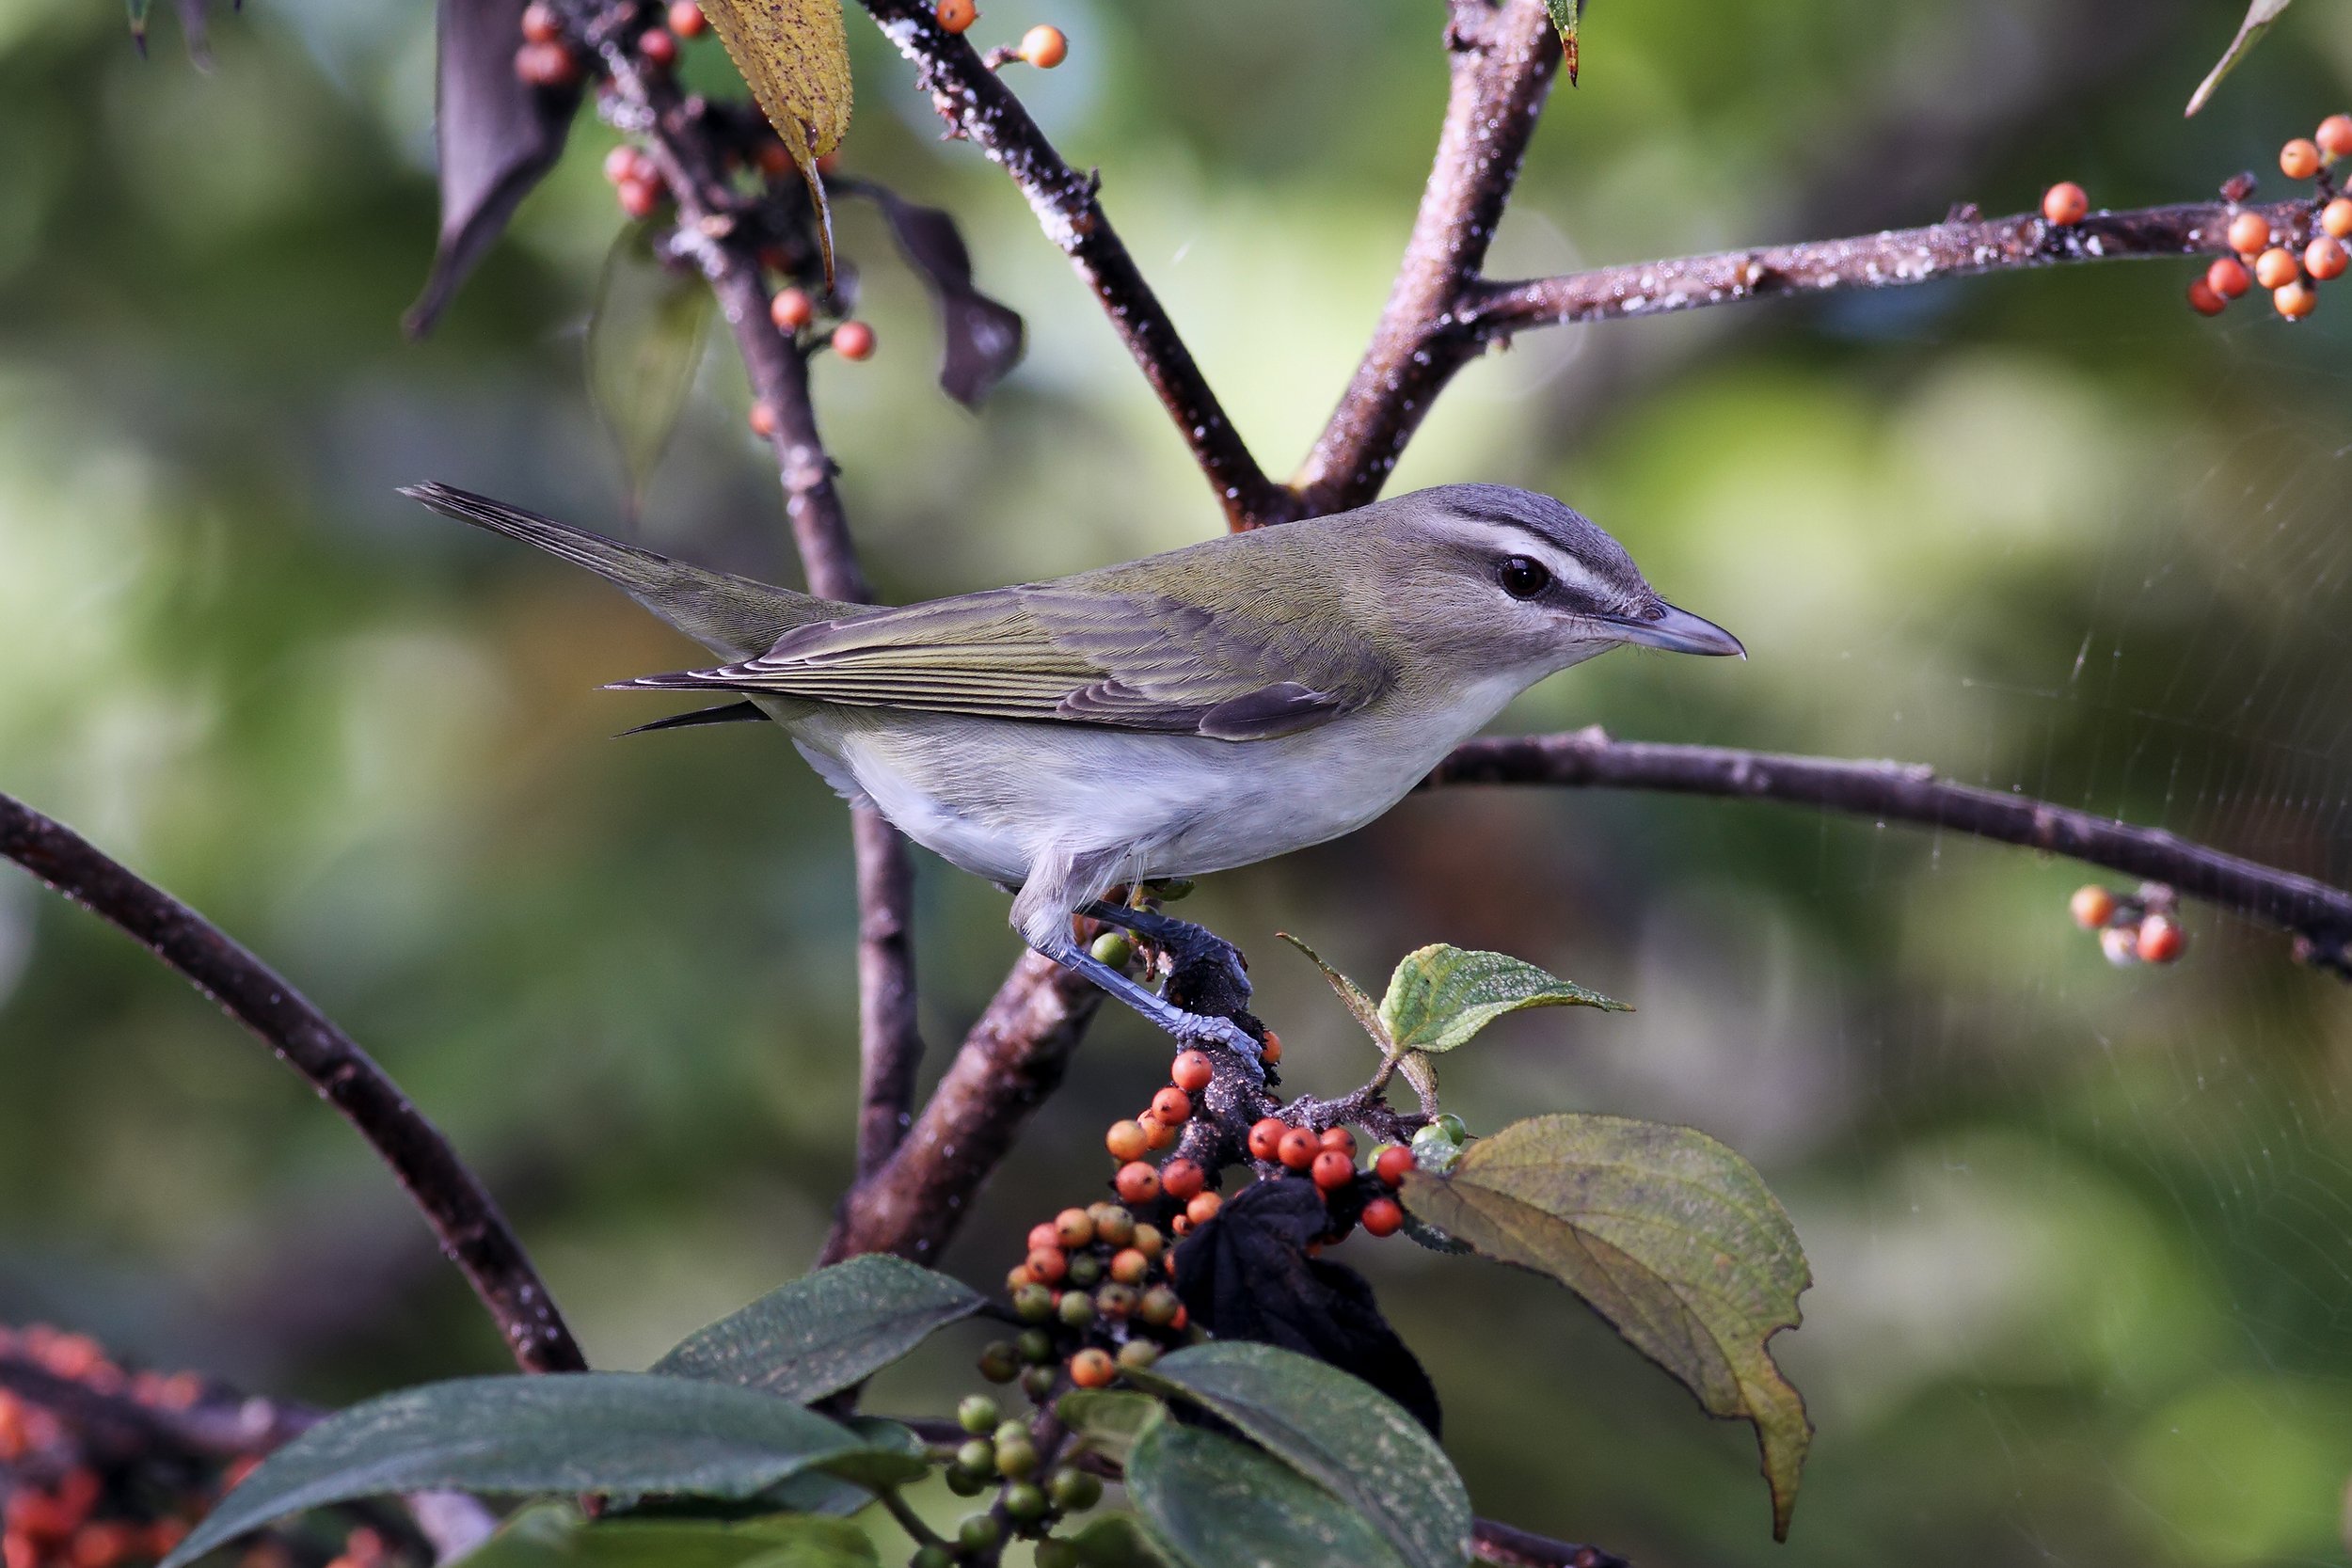
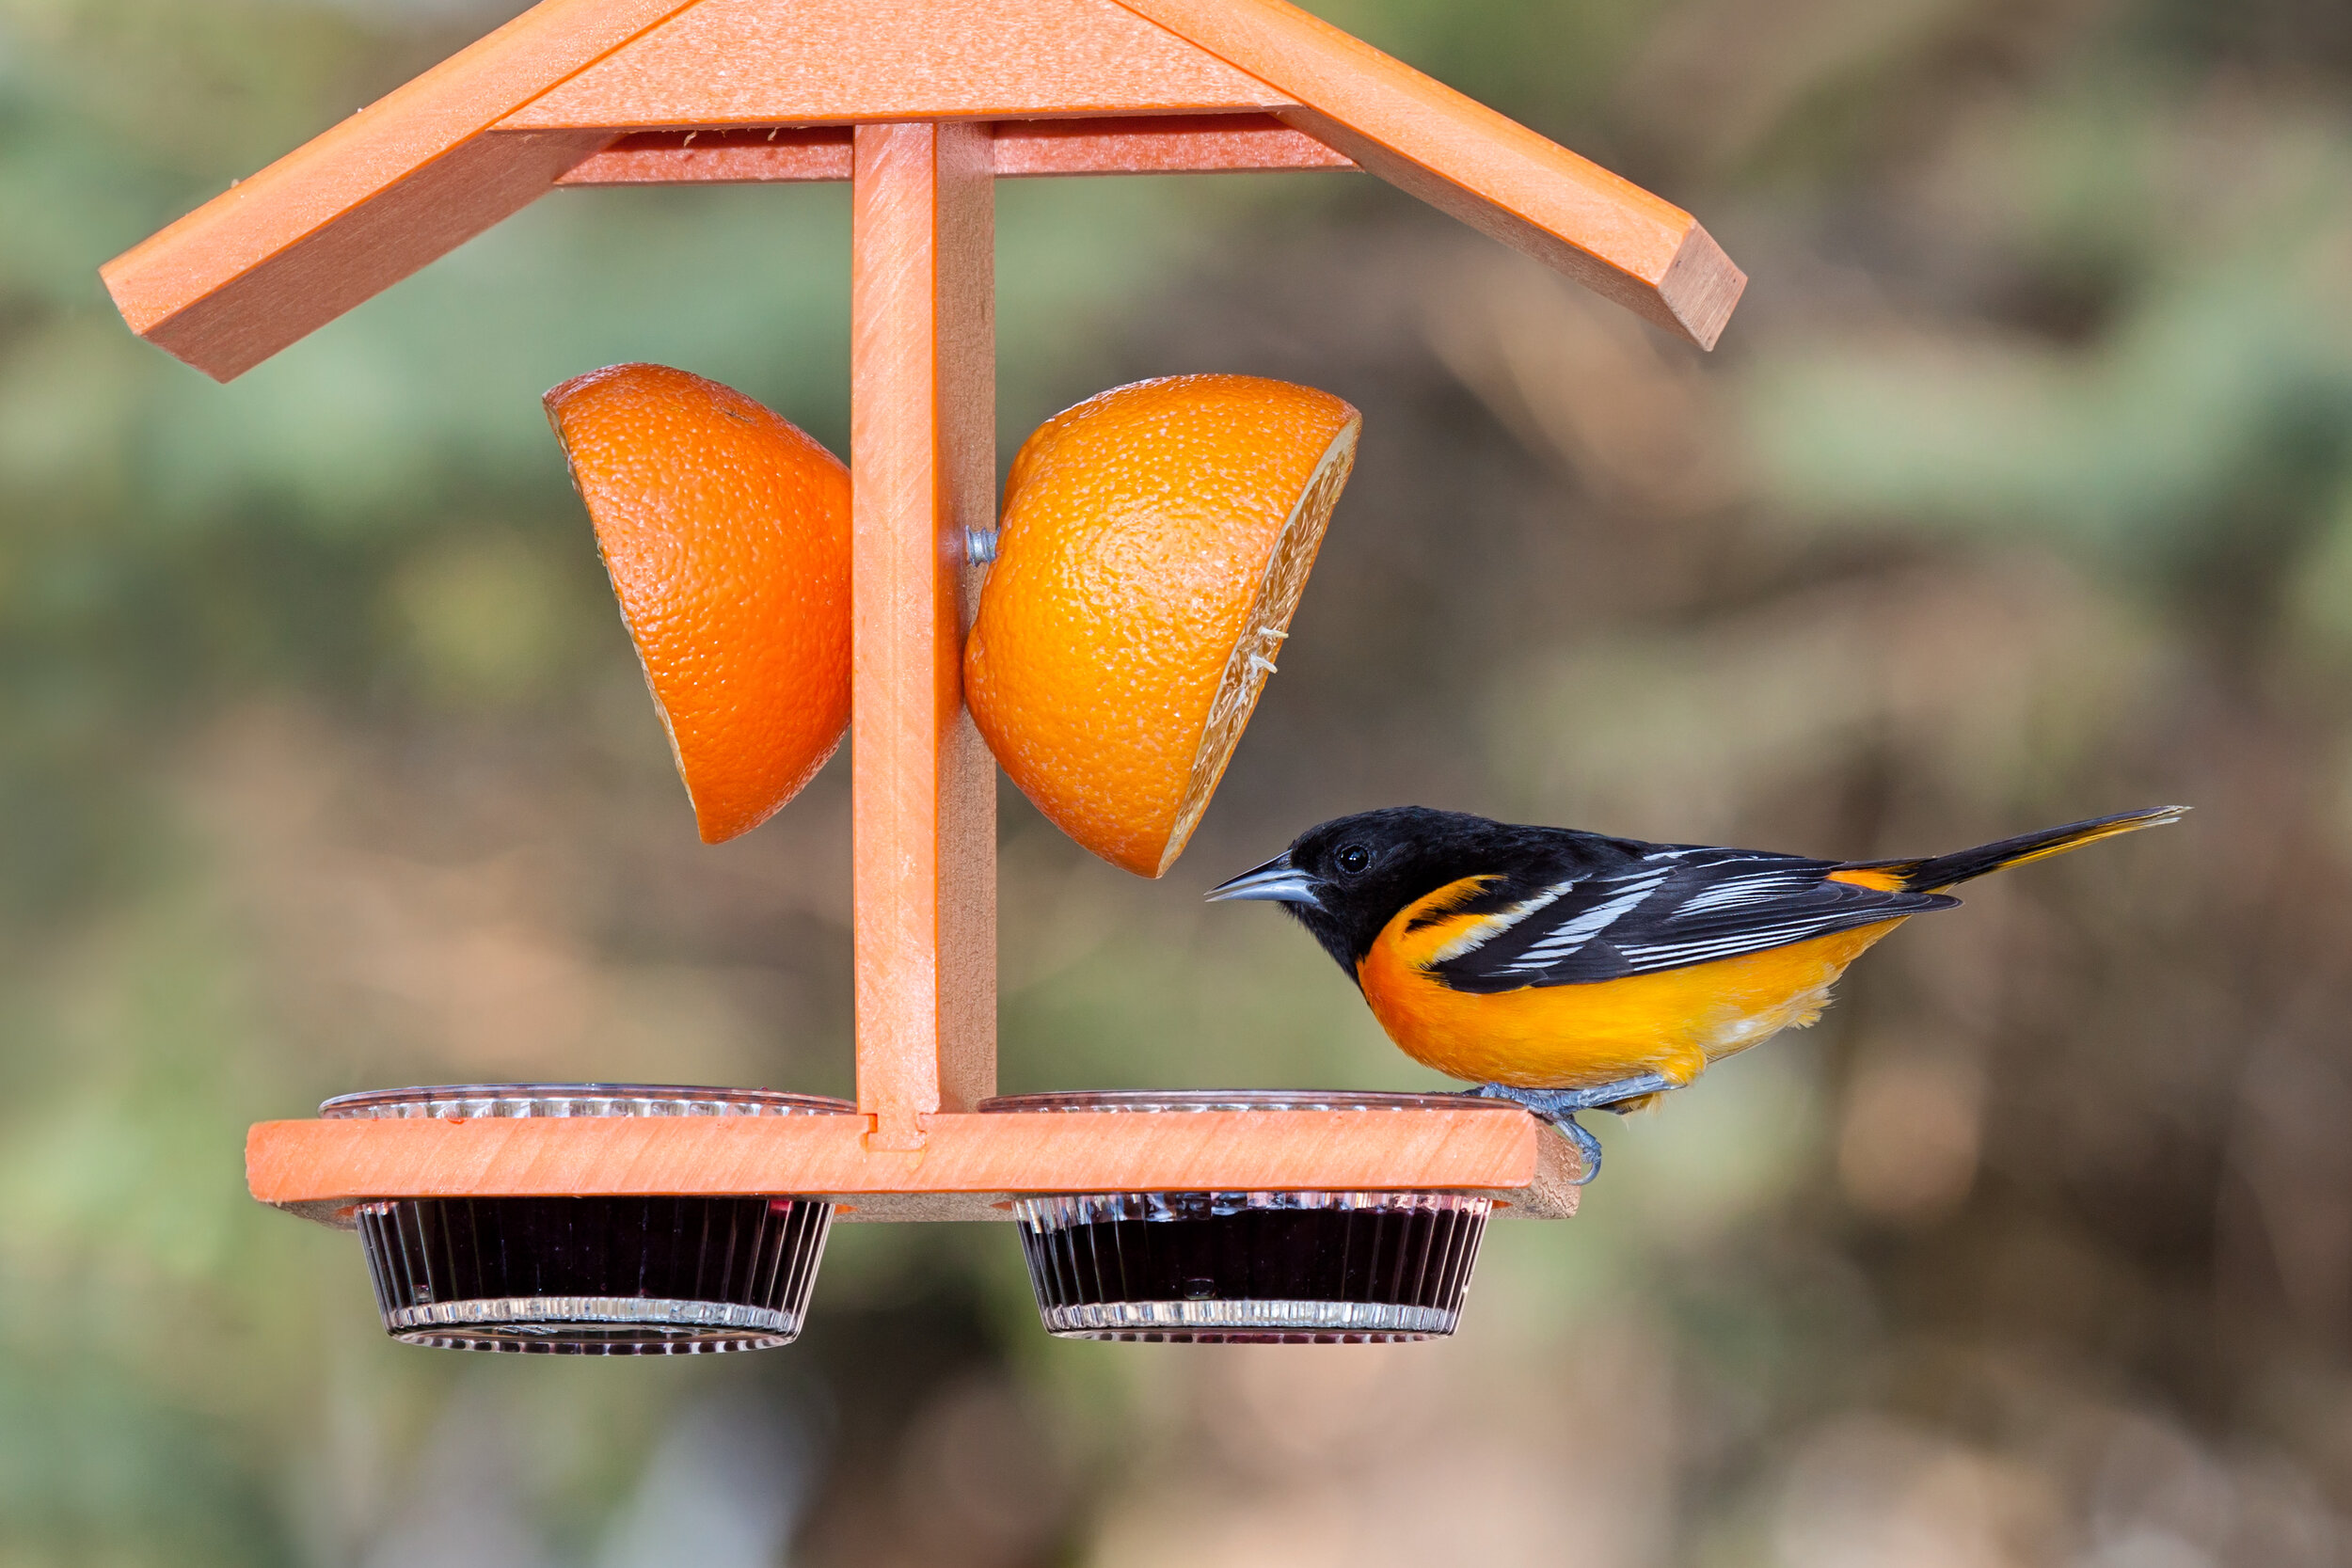
We were able to spot many starlings, red-winged blackbirds, and cardinals. Jen had a very nice look at a hairy woodpecker and was able to see the identifying field marks - a large bill and no spots on the outer tail feathers. Learning field marks is the key to success in identifying birds. Keep reviewing your field guide - even just looking at the illustrations over and over will make it easier. It will make you familiar with the images, learning the names, and their placement in your field guide.

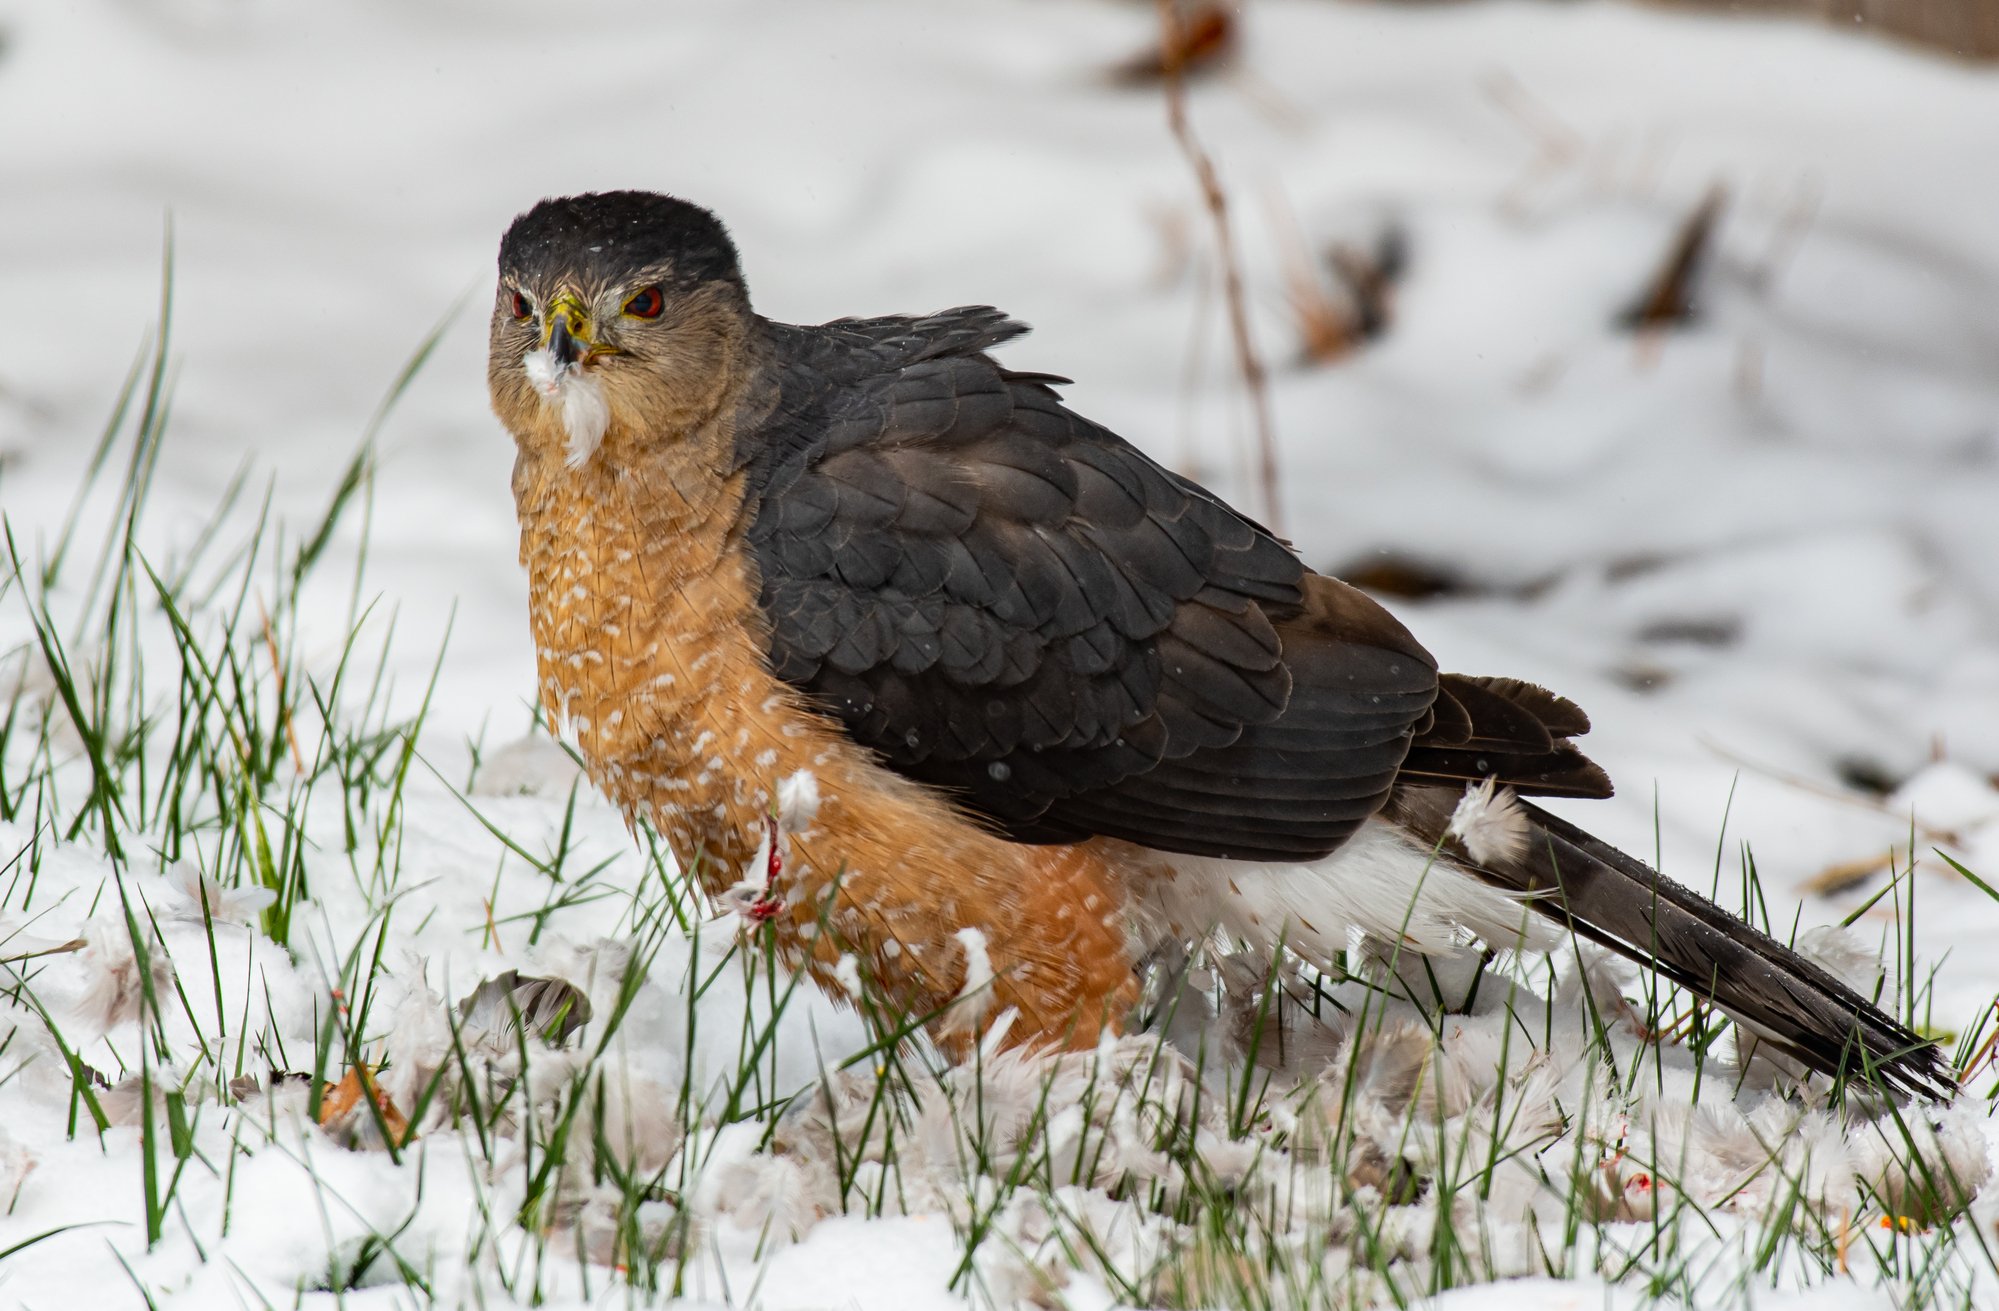
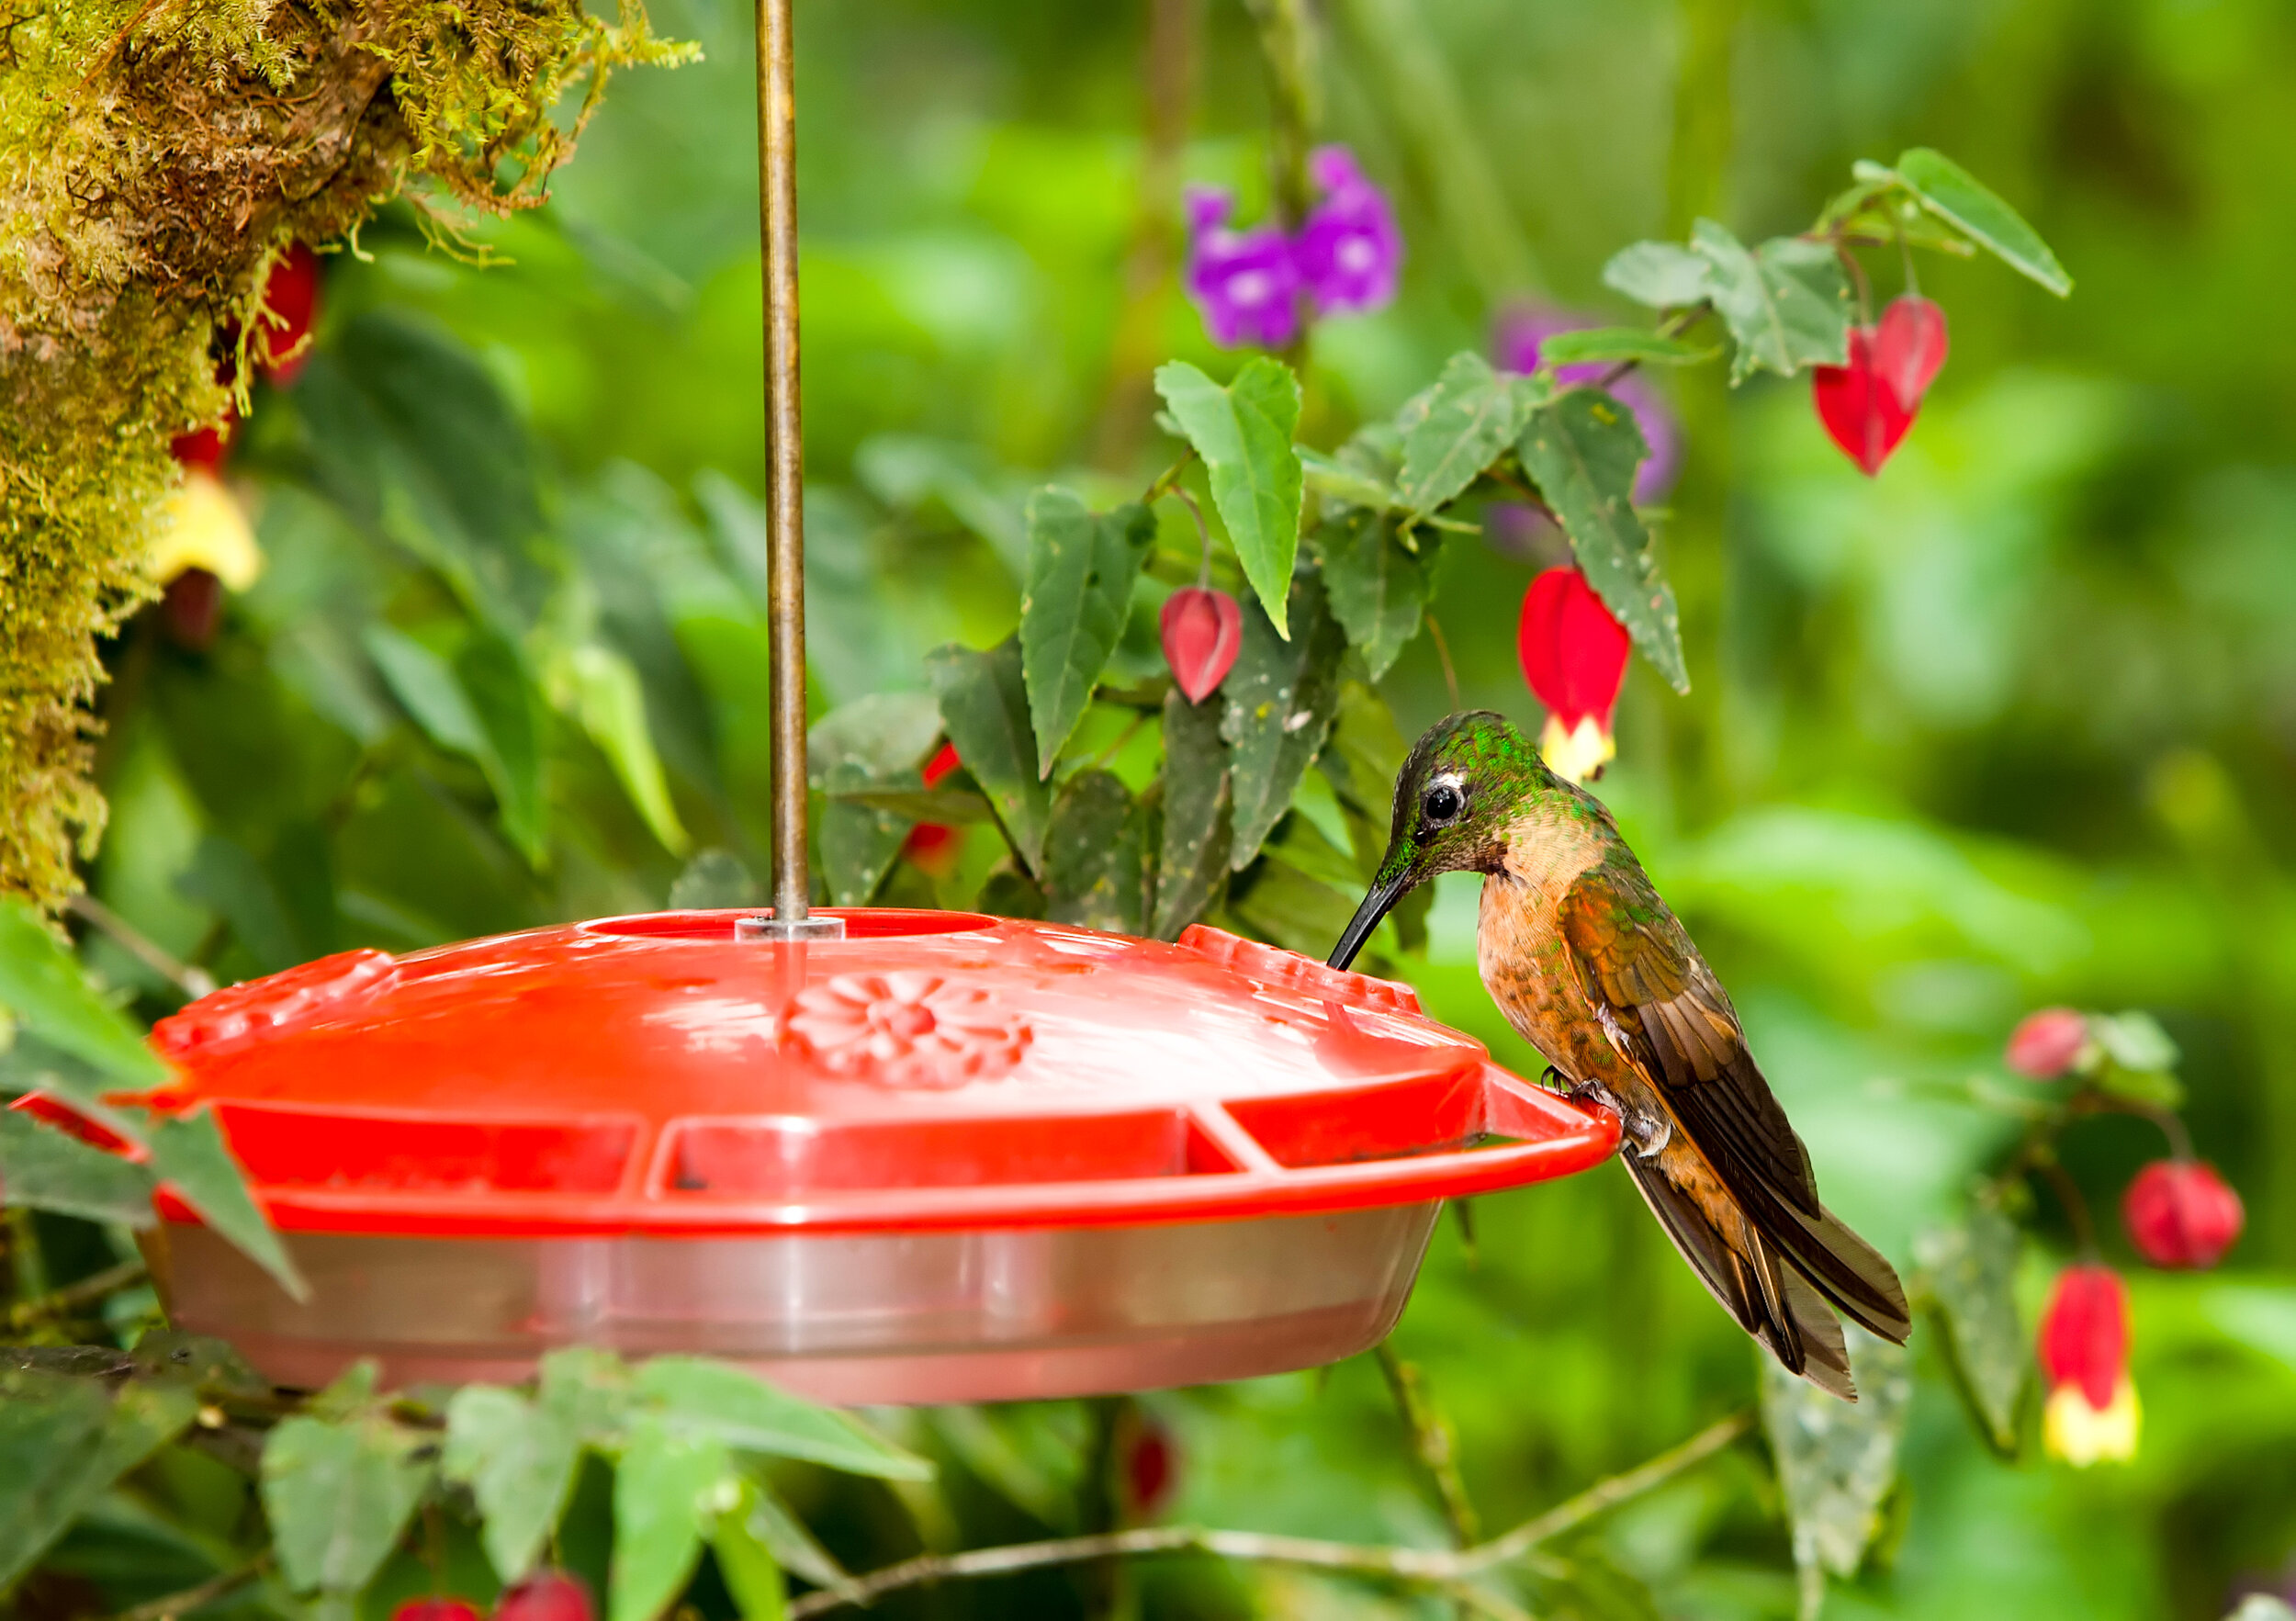
After skirting around of lot of mud puddles and crossing some flooded areas, we started to leave the field and enter the woods again. We heard a new bird song that we hadn’t heard yet on the walk. At first it sounded like multiple birds calling. Within a few seconds the bird had moved from left to right, then the call was much closer and behind us. We got a visual on it perching on a fallen tree - small, brownish-reddish, short tail, wh ite eye stripe. It kept moving quickly. Jen was only able to get the bird in her view in the binoculars but was not able to focus before it flew off deeper into the brush. She had her first fleeting glimpse of a Carolina wren.

Heading Back

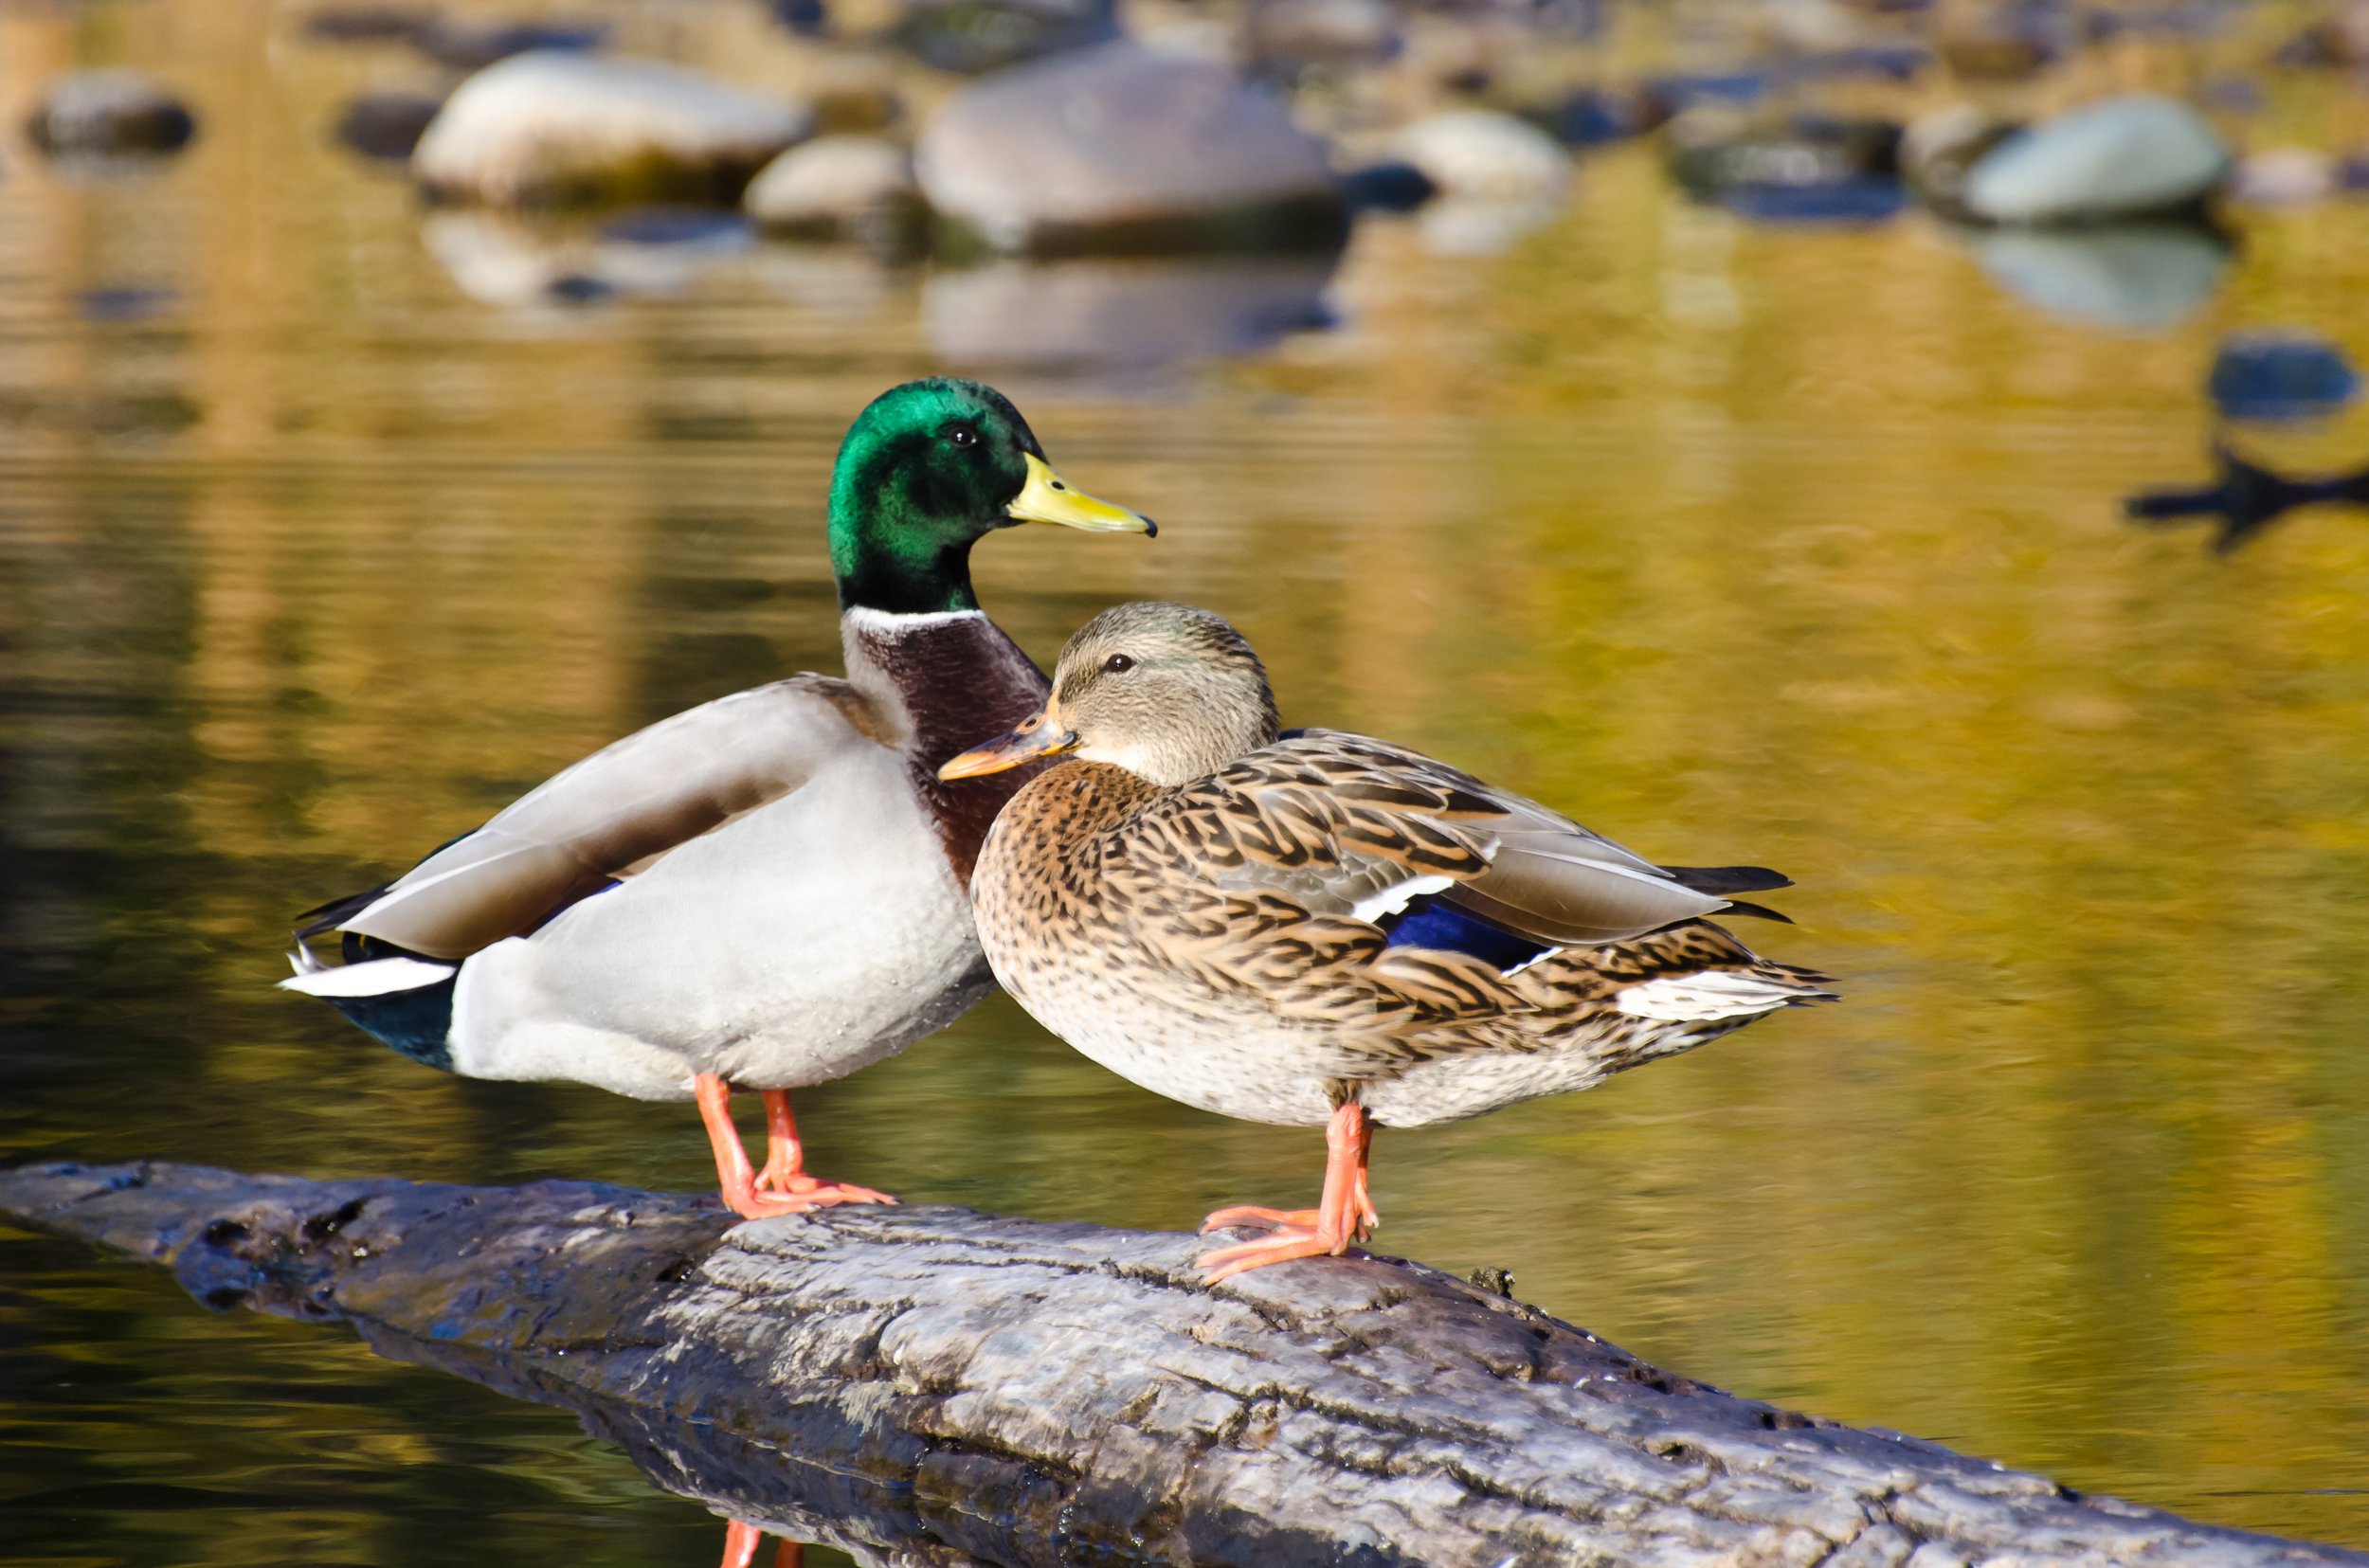
Daylight quickly faded, but the first birding walk for Jen was just peaking. Passing a neighbor’s pond on the way back, we were able to see scores of ducks flying over, stalling and then landing in the still pond. Even witnessing a sight like this can bring us closer to Nature and the everyday workings of how birds and animals press onward each day in their struggle for food, water and survival.

I can guaranteed that after today, Jen will be venturing out again to watch birds. With spring migration, quickly approaching, the birding will get very exciting. Happy birding, Jen - welcome to a new and exciting hobby!

How to Identify Birds: A New List for the New Year

There are so many ways to look at January 1! Whether you are a birdwatcher already or just starting out, this day can be the start of so many things. You’ve heard of New Year’s Resolutions, those things that you vow to change or do in the coming year. For a birdwatcher, the day marks the beginning of a log or three, keeping track of birds you see for the next 365 days! Let’s take a look at what lists you could start.

 
couple1birding.jpg
 

Life List

This is the ultimate list for a birdwatcher. It is the record of all the different species you have seen. This is the only list that will not be marked by the end of the year. It is a great way to start your Life List though, on the first day of a new year. What do you keep track of in a life list? Well, that can run from minimal information such as the bird name, the date and location first seen. You can add on to that with weather conditions, whether you took a photo of it, whether it was a male or female and so forth. This is what makes birdwatching exciting. There really is a thrill in being able to see a bird that you have never seen before. When you first start out, everything is new to your life list. You’ll be surprised how fast it grows. Wanting to add to your life list will start sending you afield, first around your house, then your state, and then you’ll be planning trips around the country just to see birds. How do I know this? I’ve planned trips to Florida, Nevada, Washington and Alaska, just to see birds. There was a rush in getting about 50 new birds on my trip to Washington and Alaska (in 10 days).


Home List

This is the next list I started as a birdwatcher. I had already started my life list in April 1982, and was keeping track of that. When December rolled around, I made sheets ready to record birds around my parent’s house (I was 14 at the time). In those days, I wrote down species, date, location, and time. I included a creek by my house, as it added more habitat types which would add more species. Any bird that flew in that airspace counted, as long as I could see if from the house or the creek. Each year I tried to find the birds from the previous year and add new ones to the overall list. In the end, by the time I graduated from high school, I had recorded 104 species! That’s about 25% of my current life list. In addition to adding on to the Home List, it was also interesting to see the changes in the dates of first sightings each year, when looking at the birds migrating back north. If the family is birdwatching, you can add a little competition to the mix. Who can end of with the most first-sightings each year? Just making a list like this adds a renewed excitement for taking family walks around the neighborhood. Just this year, while walking our dogs my a village park, we spotted a merlin (a type of falcon) for 3 or 4 days this year. Just keep those binoculars and field guide with you at all times - you never know what you are going to see on a regular walk.

 
couple2birding.jpg
 

Big Day

A short-term list that birdwatchers do is a Big Day. The idea behind this event is to see as many bird species in 24 hours as you can. You can set the parameters. Is it from your yard only? Your neighborhood? As much area as you can cover in a day? Investigate more types of habitats in your journey in order to add more birds. This can be set as a personal goal or get a little competitive with a fellow birdwatcher.

Next Steps

Big Year

A Big Year is just like a Big Day, but you have 365 days to log in those bird species. In this case, you are trying to cover as much area as you can. You may want to travel around your state or even plan a vacation or two around a birdwatching goal. Several books and even a movie have been written and made, respectively, about Big Years. If you are interested in checking those out, see the links at the bottom of this post.

I know I have geared this post towards the New Year, but you can start these lists at any time. There are many options to keeping a life list - you can do a digital record in a spreadsheet, make your own journal, or buy a dedicated life list journal for the field guide that you are using. I have 2 lists going; I like redundancy for the safety of my information. I have a spreadsheet in the cloud and a Sibley’s guide life list journal. It really doesn’t matter how you keep it, but it is best to start your lists right when you start birding. I’ve placed three life list journals that are available below, if you are interested.


Note: As an Amazon Associate I earn from qualifying purchases.


Enter Your Email NOW For Access to Top 3 Field Guides Review Video

I respect your privacy and will not share your email.

Marketing by

How to Identify Birds: Essentials to Take with You in the Field

You’ve started on your journey of being a birdwatcher. You’re ready to start the car and drive someplace where the birds are. Hold up. What do you need to take with you? It may seem like a simple question, but depending on where you live or what season it is, you’ll want to keep in mind some items that will make your birding trip much nicer and allow you to actually focus on identifying some birds - instead of mosquitoes!

Birding Essentials

Before you step out the door we want to make sure you have the essentials of what you are going to need. My first essential would be a pair of binoculars. If you haven’t gotten a pair of binoculars yet, I would refer you to my blog posts on the matter of choosing and using them. The way I look at it, if you can’t see the bird and maybe identify some of the distinguishing field marks, then the other items listed in this blog-post really won’t matter. You can always look up a bird later. Now, of course you should have a field guide with you at all times when you are out birding. Hopefully you have chosen one at this point, if not check out the most important post here and check out my review video if you have not done so yet. Check the bottom of this post for info on the video. Those are the two critical items you need to take, but you probably will want to take a notebook and pencil with you, too. That could be for anything like jotting down field marks, directions to another site, contact info of another birdwatcher, or documenting what you saw on the trip.

 
My personal essentials on a summer day.

My personal essentials on a summer day.


Now we get into the other essentials, but not associated with birdwatching itself. You’ll want to have some water or other beverage no matter what the weather. Right along side that will be some snacks. The last thing you want to do is to have to leave a great birding trip behind because you need to hydrate and refuel after a long walk or grueling hike.

Clothing and Accessories

Clothing for birdwatching is not just putting on regular clothes to go outside. I will discuss thing to consider from top of head to tip of toes. Some of these things may be seasonal, but I am mentioning them all the same. If possible, you are trying to blend in somewhat with your environment. This does not mean you have to wear all camouflage, but the scarlet red jacket might want to stay home. Muted earth colors are good and you probably have them already. Make sure you layer your clothing if that would be appropriate at that point in time.

For winter months, you’ll want to bring a hat and gloves. A lot of your time birdwatching will be standing in the open where the wind can whip around and the full effect of windchill will be upon you. Which brings up what to do for your feet. Please go out with a pair of quality boots, whether winter or not; you don’t want to have wet or cold feet, nor do you want blisters forming from ill-fitting boots. If you expect to be in snow, you may want to invest in a pair of gaiters.

 
Nothing like having the snow stay on the OUTSIDE of your boots!

Nothing like having the snow stay on the OUTSIDE of your boots!


For summer months, a hat with a full brim is very helpful, both for blocking out the sun in front and avoiding sunburn on your neck in back. A pair of shorts may be necessary if you are in extreme hot areas, but you also may need to take into consideration the threat of ticks in your area. This threat may force you to wear a pair of lightweight pants to avoid any bites.

For spring and fall, fully consider the layering of clothes, it is warm during daytime viewing but can be very cool in the early morning or evening hours. A quality rain jacket will help out with short showers while walking in the woods or elsewhere.

Packing Your Gear

After reading about all the above essentials, a new question arises - where to put all this stuff? Depending on what season it is and what it is that you are carrying, you have a few category choices. If you are just on a quick bird walk and will not be out more than an hour or two, you can get away with a field bag to hold your guide, water and snacks. These can be worn on the hip, waist (whether in front or back is up to you), or leg. I have traditionally worn a waist pack worn in the back, but have recently been wearing a leg field bag. This frees up space to wear a backpack if needed and makes all the materials you are carrying a little more accessible.

 
My current favorite bag for carrying birding supplies,

My current favorite bag for carrying birding supplies,


For those going out for longer ventures, you will probably want to invest in a good day pack. Look for features such as water bottle storage and several pockets (so everything is not just mixed up in one section). A day pack will allow you to carry extra clothing as the weather changes, more food and water, and first aid items (see next section). Definitely try on the pack before buying. They all look nice, but the fit is crucial here. Make sure to get a pack with padded straps. A weighted bag over hours will start to feel uncomfortable quickly. If you live in an area where frequent rain showers occur, consider how water repellent the material is.

 
Carrying some of the essentials here - backpack, hat and map.

Carrying some of the essentials here - backpack, hat and map.


First Aid

Although not everything here is first aid, there are several things to consider carrying with you, just in case. I always have bandaids, moleskin (to prevent blisters from hotspots) and a tick remover with me. If I have sufficient room, I will add antibacterial cream and some over-the-counter pain reducers. When in the summer season, sunscreen is a must. When in the winter months, one or two hand-warmer packs can make an unpleasant walk at least bearable. Other safety measures could include a compass if you will be in a larger area or going off trails along with a map. Always have a phone with you and a charged battery pack for any emergencies

Next Steps

Start thinking about what you personally need to take with you on a birding trip - or any hiking / walking excursion. The items mentioned above really should be with you any time you venture outsides. Consider putting the non-birding essentials in a smaller bag so that it can be pre-packed for both birding and general use. Below, I highlight some of the products that I use for birding from Amazon. NOTE: As an Amazon Associate I earn from qualifying purchases.


Enter Your Email NOW For Access to Top 3 Field Guides Review Video

I respect your privacy and will not share your email.

Marketing by

How to Identify Birds: Using Your Binoculars Effectively

Probably one of the most frustrating things that can happen to a new birdwatcher, is to see a bird but not be able to view and identify the bird through the binoculars. It takes a little bit of practice in learning how to raise the binoculars and be looking at the bird immediately once they are raised.

When I first started birdwatching at age 14, I was using the family pair of binoculars, a set of 7 x 35 porro-prism style. They were my dad’s for who knows how long and had rigid eyecups (boy, did I hate those, they hurt putting against your face). I started my birding hobby by going to a local Audubon Center and doing backyard birdwatching. The backyard time was very beneficial since I could use the binoculars a lot and had plenty of time to identify the new birds that showed up in the yard or overhead. I didn’t take notes back then on how to use them, but I do recall the general progression in the ability to see the birds through the binoculars quickly. I’d like to share with you now some of those techniques.


The Ever Increasing Cone of Viewing

The first lesson is to be patient, but practice a lot. Being able to find a bird with binoculars can mean different things to different levels of birdwatchers. When you are starting out, you literally just want to be able to get the bird into the viewing portion of your binoculars and identify it. This may seem like a simple task, and in some situations it will be. The closer the bird, the larger it appears and the likelihood of not seeing it will decrease. As the distance between you and the bird increases, the smaller the bird is, but at the same time the viewing area that you are seeing is also increasing. Think of the viewing area from the binoculars to the area in front of you not as a cylinder, but as a cone (your eyes being at red narrow point in the cone below). As you increase the viewing distance, the cone diameter gets wider and you are viewing more horizontal and vertical distance (the dark green section). Insert a small bird into the picture and you can see why it gets difficult finding birds with binoculars. We can’t change how binoculars work, but we can mitigate some of the problems at the beginning so we can at least find the birds and have a chance to identify them.

 
Imagine yourself at the point of the red portion of this cone with your binoculars. As you look out to more distant objects, the width of your field of view increases, making the task of finding a bird harder.

Imagine yourself at the point of the red portion of this cone with your binoculars. As you look out to more distant objects, the width of your field of view increases, making the task of finding a bird harder.


Solution # 1: Picking the Right Set of Binoculars - Begin with Lower magnification

When looking for binoculars for birdwatching, there is a GREAT temptation to go for the gusto! Don’t. What do I mean by this? Well, we always think that more expensive is better, fancy features are better, or certain brands are better. While all of this could be true, but our goal is to identify birds. When starting out, keep it simple. One way to do this is to buy a pair of binoculars that are on the lower end of the magnification spectrum. We don’t want to go too low. Opera glasses are usually 4x magnification and would be perfect at the opera when you have good lighting and you know the stage is only so far from you. These conditions make a 4x binocular sufficient. For the purposes of birdwatching, you will want to start with a pair of 7x binoculars. I have never seen a 5x or 6x binocular so it really becomes the first possible choice.

 
These opera style binoculars might have worked in the old days, but we have much better options now.

These opera style binoculars might have worked in the old days, but we have much better options now.


Now, why do I suggest 7x binoculars? A few reasons.

Wider Viewing Area

This lower power will give you a wider viewing area. To visualize this, think of your regular eye vision as 1x. If you could double magnification, you could only see half of what you see now. As we increase the magnification, be continue seeing a smaller and smaller section of the view in front of us. This may seem counter-intuitive since if we could focus on the smaller section we could see the bird with less distracting surroundings. However, when you are just learning to use those binoculars, you’ll want to latitude of seeing a lot of area so the bird is included in your viewing even if you are centered on it. Think of it as a shotgun approach. With a shotgun, the slugs disperse in a wider pattern: if your aim is close, then you’ve succeeded in hitting the target. A rifle is just the opposite: one bullet going exactly where you aimed it, whether that was the target or not. The bird is our target. We want to identify it, but to do that we must see it first.

So the lower power binocular is utilizing the shotgun approach; the lower power allows you to see a wider area, and whether you are on target or not, the likelihood of the bird being in view is greater. As you get better and can bring the binoculars up and see the bird immediately, then you can move on to higher power binoculars.

Body Shake

Another reason to begin with lower power binoculars is because of body shaking. Forget the movies where a spy is using high power binoculars and the viewing is perfectly clear and steady. Not going to happen that way in the birdwatching world!

lower power allows you to see a wider area, and whether you are on target or not, the likelihood of the bird being in view is greater.

The greater the magnification, the greater the effect of your body shaking will be. Now, where does the body shake come from? At the very least, your heartbeat, that will introduce a consistent, though small, shake in your viewing. The next source will be in how well you brace your arms. What you will want to do is to brace your upper arms against your torso so that only the forearms are suspended out. This will greatly reduce shaking. That is about all you can do to control your body. The next source which you have no control over will be the wind. You will be surprised at how much the wind will move your body around and how difficult that will make it to stay focused on a particular viewing area in the binoculars. The only thing I have learned to do in that situation is not to concentrate on keeping the binoculars still, but to let your eyes wander within the viewing area to keep your eyes directly on the bird, no matter where it happens to be in the viewing area

 
Another technique to avoid shaking - use a wall, tree or other rigid object to help steady you while viewing birds

Another technique to avoid shaking - use a wall, tree or other rigid object to help steady you while viewing birds


Solution # 2: Adjusting your binoculars

Just like many car owners, I can own a car for many years, and then find out about a gadget, switch or setting that I never knew about (I mean, like who reads the owner’s manual). Fortunately, your binoculars only have so many moving parts, but those can make all the difference for enjoyable birdwatching.

I will mention what needs to be adjusted for you, the user so that you can avoid eye strain and make the time you are using them enjoyable and productive. The major adjustment to be made will be setting the diopter eyepiece on the right hand side. Manufacturers know that everyone’s eyesight is different and so they make one eyepiece adjustable. Rather than try to explain how to do this, I would ask that you watch my video below.

Solution # 3: Binocular Workout - Use the binoculars before you need them

There’s nothing more dangerous than to do or use something for the first time when you really need to use it and be 100% efficient or effective in doing it. In birding, that would be the equivalent of learning how to use a spotting scope on your vacation to a hot birding spot where all these wonderful new birds are that you want to identify. And now, you can’t because you didn’t take the time to learn to do that when you had time to make mistakes.

So, let’s avoid that by pointing out how we can improve those odds. We want to learn how to find birds and identify them as quick as we can. My recommendation is to do the following and when you feel confident with each step, move on to the next.

First Step

Go outside with your binoculars. Spot a larger item. Remain looking at the item while bringing the binoculars up to your eyes. Did you have the object in the viewing area? How much were you off? Too high? Too low? To the left or right? Make a mental note of the positioning. Pick another object and repeat. You will start developing a “muscle memory” of how your hands need to bring the binoculars up so that the object is already in viewing area.

Second Step

The next step is to reduce the size of the object that you are trying to spot in the binoculars. This is basically just fine-tuning the “muscle memory” from the previous step. You are now trying to find bird-size objects and see them immediately in your viewing.

Third Step

The final step (and most complicated) is to do the above but have a distracting background (like branches in a tree) or one that has no distinguishing features (like the water on a lake or blue sky). In the case of the former you want to look for the bird in relation to landmark, perhaps a group of colored leaves or a unique looking branch formation. Bring your binoculars up to that landmark and then look for the bird. In the case of the latter, I raise the binoculars to where I think the bird is and then either vertically or horizontally until the bird comes in sight

Using a landmark to find a bird: Imagine a bird where blue oval is. It would be hard to find the right section of yellow leaves. I might use that branch that ends at bottom of circle as a landmark.

Using a landmark to find a bird: Imagine a bird where blue oval is. It would be hard to find the right section of yellow leaves. I might use that branch that ends at bottom of circle as a landmark.

Next Steps: Get outside and start practicing

If you haven’t purchased your binoculars yet, you will want to check out my other blog post on binoculars. It has some other great information. Once you get them, adjust them for you and begin practicing. Remember, like I said, you don’t want to start learning how to use them effectively and efficiently when you start seeing that bird you want to identify. Good luck!

Enter Your Email NOW For Access to Top 3 Field Guides Review Video

I respect your privacy and will not share your email.

Marketing by

How to Identify Birds: Keep Your Eyes Open All Year Round

The best thing about birdwatching is that you can do it anywhere and at any time. You can go someplace special to watch birds or just look into your backyard. Even though you can birdwatch any time, there are things to look out for. There are seasonal changes and each will introduce new birds that you will need to learn to identify, and even with my experience, sometimes relearn key field marks and bird songs. Let’s see what these seasonal changes bring to the birdwatching world.

Migration Patterns

We all learned from an early age that birds migrate. It’s probably one of the first thing we learned about animals when we were back in grade school. We saw geese, ducks, robins, finches, sparrows and many other birds “come back” in the spring, and we knew winter was approaching when we didn’t hear birds singing anymore and could see large flocks of birds gathering to “go south for the winter”. It may seem that birds just decide to go when they’re ready and that there is no other pattern to this migration, but there is.

 
The very familiar V formation of geese during migration

The very familiar V formation of geese during migration


Migration happens in waves, with different types of birds moving at different points in the year. I live in the Northeast in New York. I have become familiar with these waves. No the times may be different for your area, based on whether you are further upstream or downstream from me in the migration river. So, for my area, the order of migration is as follows:

Northward Type Southward

March Waterfowl November

April Raptors (Hawks) October

May Songbirds September

June Shorebirds August

The time span that certain species stay in their summer grounds is very different. Waterfowl will be around for about 8-9 months, while shorebirds are here for only 3 months. Depending where you live, your location may be the destination or just a stop-over on a longer journey. This presents certain challenges in identifying birds. The first is when migration is on, the numbers of birds that you need to look at is much larger which is both a blessing and a curse. It’s great to have all these birds to look at, but if you are looking for a particular species, it can be very difficult to pick it out from the crowd. Another challenge is the fact that you may only have a very short window of time to see certain birds if they are just passing through versus a bird that will be nesting in your area over the whole summer. This is part of what makes birdwatching so exciting - it is the thrill of the chase!

 
It always seems special to find a nest and know spring has sprung!

It always seems special to find a nest and know spring has sprung!


Plumage Changes

This is probably where the greatest challenge and source of frustration lies for the birdwatcher. All birds will look different from the time they hatch until they are full adults. For most of us, we see the simple change - a spotted breast on a robin turning to the brick-red breast later in the season. Other birds will take several seasons or even years to morph into the plumage of an adult. This is especially true for the gulls. For all birds, though, the change is a gradual (relatively speaking) one and the plumage can vary from what may be shown in a field guide. Some field guides only show the adult male and female of the species. The better field guides will also show juvenile or immature plumage for that species. It is just one of those challenges to overcome - become familiar with your guide, know what information it has to offer, and review the illustrations periodically to learn what the birds you are not familiar with look like.

 
Both immature and adult gulls of the same species - can challenge you in identifying.

Both immature and adult gulls of the same species - can challenge you in identifying.


Quantity and Variety

Depending on the time of the year and what your location is, you will notice a change in the variety of species you see and the quantities of each that you see at that particular place and time. One thing I notice where I am is the drastic change in the variety of birds in winter in New York. You see the typical winter birds here - some sparrows, a few hawks, chickadees, blue jays, woodpeckers, and so on. May migration can bring 40-50 different birds through, some of which will stay and breed, while others move onward to the north to breed. Again this can be a blessing or a curse. Nice to have variety, but for a new birdwatcher it can be overwhelming. All you see is a flurry of color for a few seconds and off it goes. For me, winter can be boring with the lack of bird variety, but you find ways to make it exciting. I try to find as many bird species as I can in winter months - can I find more this week than last? There is also the well-known Christmas Bird Count that takes place across the country in many locations. On this count, many observers go out to the same locale each year and count how many individuals of each species they can see in the day. These counts are used to see if conservation measures are working or if a species is declining. On the other end of the spectrum, during migration usually, some birders will have a Big Day - finding as many species (not individuals) as possible within 24 hours.

 
Sometimes on a winter day, you are happy just finding an old friend - the tree sparrow.

Sometimes on a winter day, you are happy just finding an old friend - the tree sparrow.


Behavior Changes

As the seasons change, bird behavior will change, too. We all know the birds sing in spring time, and they nest during the summer. But these are the very obvious things we see. Singing in spring is all about finding a mate for breeding. Males are staking out nesting territories and defending it from other competing males, all the while trying to attract a female. Hence, all the singing going on. You will see the “aggressive” behavior of males trying to shoo another male away from their territorial claim. Once nesting starts, for some species, they will get much quieter. A singing bird gives away their location, and giving away the location of a nest could be disastrous. So at those times, you will need to depend more on sighting a bird than hearing it. Just another challenge in the life of a birdwatcher. During nesting, you may be more likely to see males than females, depending on whether both individuals will stay at the nest while the other gathers food. During breeding times, pairs of birds will be spaced out, while during migration, birds of the same species may gather in distinct flocks or just congregate in areas together for feeding, storing up energy for their long flights onward to their destinations.

 
A familiar sight among geese during the pre-nesting period - defending territory

A familiar sight among geese during the pre-nesting period - defending territory


Next Steps

To overcome some of the challenges mentioned, the best solution is to take time during days off from birdwatching, and study different plumages of birds. You may also want to consider studying just a few species, but pay particular attention to plumage changes in different seasons - how are they different? How are they similar to other species? How could you distinguish them from anothers species? Don’t be afraid, this is one of the most difficult parts of birdwatching - identifying the not-so-typical individual when it is not the “normal” adult. In this case, practice may not make perfect, but you will get better at identifying more species throughout the year.

Enter Your Email NOW For 10% Discount Code for My Video Course >> Learn to Identify Birds: Start Birdwatching Today!

I respect your privacy and will not share your email. .

Marketing by

How to Identify Birds: Bring the Birds to You!

Maybe you don’t have the time or means to go to where the birds are. You can identify plenty of birds where you are. Having them so close to you will provide you the opportunity to learn how to use your field guide and binoculars on a more frequent basis. This will prove beneficial in the future when you are going to different locations to find those birds that don’t come to you.

What is it that birds need - Food, Water, Shelter

Birds are like any other animal. They require the basics to survive everyday. Depending on the season, these may determine whether the bird lives to the next day. A few years ago, there was a gull that was well out of its normal territory. It was late fall and I wanted to go see this bird, but had to wait until the weekend when I would have time. The evening before, the temperatures dropped to freezing. I ventured out with a neighbor who was also a birdwatcher. We arrived at the location where the bird had been seen for the last week. The bird was not there and it was determined that the bird had not survived the night. It had not been able to obtain food that is was used to in this new area and was not able to find shelter from the cold. If you choose to provide these 3 three requirements, you will be helping birds with their daily needs and they will provide you joy, curiosity, and learning.

Food

People usually think that you buy the birdseed from your local store and all the birds will come to eat it. Now, while that may prove to be true, there’s more to the story than that. All birds were not created equal, each has their own little niche to live in, with different needs, including food. There are birds who eat exclusively from the ground, others forage in the trees, while others will look for insects inside trees. How can you help the greatest number of birds, and for you, the greatest variety of birds, so that you can learn to identify new species that you have not seen before? With respect to food, you need to offer a variety of seed and for those special birds, you may need to buy special feeders.

 
This nuthatch is enjoying a meal of nuts

This nuthatch is enjoying a meal of nuts


Let’s start with the normal bird seed you can buy at any store. It usually is a mix of cracked corn, sunflower seed, millet, milo and maybe, just maybe, peanuts. From many years of personal experience feeding birds, I can tell you that most birds will just scatter most of the seed to the ground to get at the good stuff. You can buy these relatively cheap mixes, but I can guarantee you that you’ll be happy to see different types of plants growing under your feeder once they sprout. If you want to be smarter about this, you need to buy specific seed types for specific types of birds. This may end of costing a little more, but all the seed will be eaten.

 
House finches eating mixed seed from a traditional hanging feeder.

House finches eating mixed seed from a traditional hanging feeder.


So what should you feed birds so they come to you - sunflower seed, peanut hearts, nyjer (thistle) seed, and cracked corn are the basics I have used. Different species will go for different seed, but these four types will bring in a wide variety of birds to identify. There are some specific feeders you may need - hummingbird feeders and oriole feeders - if you are looking to attract those species. There are many types of feeders to use, and I have recommended some below.


A specialized oriole feeder with places for fruit and a  jelly tray.

A specialized oriole feeder with places for fruit and a jelly tray.

 
Hummingbirds enjoy flowers and their own feeders, too.

Hummingbirds enjoy flowers and their own feeders, too.


Water

You would assume that since birds live in the wild that they can find water by themselves. That is true, but if certain seasons water is harder to come by. In summer, water can evaporate from smaller sources, while in winter water can freeze and not be accessible. Providing water in your yard is a fantastic way to bring birds in during these two seasons along with during migration. Please make sure that you clean out the water container frequently to make sure it is healthy for the birds. There are simple solutions and more complex solutions. One way I provided water back in the day was to invert the lid of a metal garbage can, buttress of the bottom of it so it was level and fill with water. Very simple, very cheap, very effective. The next step would be a birdbath, as you have typically seen. The most complex would be to install a small reservoir with pumps (like a koi environment). I have never done that myself; I know they can attract a huge variety of birds because of the running water and larger source of water.

A smaller artificial pond, this will attract many birds to your yard.

A smaller artificial pond, this will attract many birds to your yard.

 
A bird bath along with selected plantings will attract hummingbirds and butterflies alike.

A bird bath along with selected plantings will attract hummingbirds and butterflies alike.


Shelter

Shelter in this instance can take two forms - housing and protection. For the housing aspect, you can provide birdhouses for species to inhabit. Each species will need a specific size hole to prevent other species from invading and disrupt nesting. I have provided links for books that can assist with this aspect. The other form of shelter would be for protection from predators. This can be done by piling twigs and branches in an area of your yard. It can also be done by having shrubs planted in your yard. When a hawk flies through your yard (and they will!), those shrubs and brush piles will provide a quick sanctuary for the birds that were feeding there. Inevitably, the hawks will take a smaller bird, but that is the circle of life and it also makes for exciting tales to tell.

 
Birdhouses can be constructed easily from scrap wood.

Birdhouses can be constructed easily from scrap wood.

 
A small brush pile will provide much needed protection for smaller birds.

A small brush pile will provide much needed protection for smaller birds.

Next Steps

Your home birdwatching experience can only improve by providing more of these basic needs to birds. A little creativity can make these changes very inexpensive by recycling containers that you may have around the house. You can also opt to order the finest in birdfeeders, houses and artificial ponds. No matter your course of action, any or all of these changes will undoubtedly bring more birds to your yard and give you the challenge of having more birds to identify. Enjoy!

Backyard Bird Sanctuary.jpg

The Book is Here!!

Learn how to attract the 50 most common backyard birds to YOUR backyard sanctuary.


Enter Your Email NOW For Access to Top 3 Field Guides Review Video

I respect your privacy and will not share your email.

Marketing by

How to Identify Birds: Becoming Familiar with Your Field Guide

Well, you’ve completed the first step and now you have a field guide in front of you. Now what? Do you read it? Just take it with you? If you want to learn to identify birds, you’ll need to learn how to use your field guide. What exactly does that mean?


When I was 14 and I had just bought my first field guide, I was looking forward to identifying each bird I saw. Unfortunately, I had fallen into the trap of a nice looking field guide with great pictures, but a field guide ill-equipped to be of much use in quickly making those identifications. It was based on bird shape and color. To a brand new birder, that might make sense, but it quickly becomes a quagmire.

From that personal experience, I can now give you some helpful advice so that the field guide will become your well used friend. One caveat here, my advice needs to be somewhat general in nature, since every field guide is set up slightly different, but my tips will suffice for almost any field guide out there.


Step 1. What is in your Field Guide?

The first thing you’ll want to do is just take a tour of your field guide and see what features it has.

Is there a checklist / life-list in it? Are pages tabbed or color coded for quick reference? How is each page set up? For example, is it one bird per page with illustrations at the top, range maps in the middle and description at the bottom? Your eyes need to get familiar with how the page is set so you can be quicker with the bird identifications.

 
Each field guide arranges illustrations and text differently

Each field guide arranges illustrations and text differently


Step 2: How is Your Field Guide Arranged?

It’s test time. If you want to identify birds quickly in the field, you’ll need to find them in your field guide quickly, too. It’s a race when you see a new bird. Can you get some field marks identified, look it up, and confirm the identity before the bird flies away? I’ve had plenty of birds over the years fly away before being able to get to the page I needed to in my field guide.

 
Just like the books on this shelf could be arranged in genres, birds are arranged in field guides based on similar characteristics in bird families

Just like the books on this shelf could be arranged in genres, birds are arranged in field guides based on similar characteristics in bird families


So, how do you get to identify birds quickly with a field guide. Basically, it comes down to sitting with your field guide and begin looking for birds in it. This may end up being a 3 stage process depending on how well you know the different types of birds in the first place.

A. If you are a complete beginner you will first need to learn how birds are arrange in your field guide. Most are ordered taxonomically, meaning they are arranged by genetic families of birds. At this point you may want to just browse through and see what types of birds there are: ducks and geese, hawks, sandpipers, herons, gulls and terns, sparrows, finches, warblers, and so on.

B. Once you have sufficiently learned the types of birds there are, you’ll want to become familiar with where each type of bird is located within the field guide. To practice this, think of a type of bird, then as quickly as you can find that section in your field guide. Continue to do this when you have time until you can find that section within about 7 seconds. Why is this important? If you can get your field guide out and get to the section that your bird is in within 7 seconds or so, you have a decent chance of identifying that bird while it’s still around you.

C. The last stage in getting familiar with your field guide is to get down to finding a specific bird in your field guide. This is almost like step B above, but now we are looking for a specific page with a specific bird in mind. Even if you’re just a beginner, you can still do this. Think of some of the local birds in your area that you are familiar with and find them in your field guide.

If and when you update your field guide (e.g. going from an eastern guide to a full North American guide) or change guides completely (e.g. Peterson’s to Sibley’s) you will need to do these steps over again since the locations may change, organization may differ or the placement in a larger guide will change relative positioning the field guides.

Enter Your Email NOW For 10% Discount Code for My Video Course >> Learn to Identify Birds: Start Birdwatching Today!

I respect your privacy and will not share your email. .

Marketing by

How to Identify Birds: Documenting What You See and What You've Seen

My goal is to help you to identify the birds you see and hear so that you can enjoy a life-long hobby in the outdoors even if you’ve never identified one bird before.

In this blog post, I will discuss the importance of documenting the species of birds that you have seen. Also, you will want to decide on how you want to record critical information on the field marks of birds you cannot identify right away.

Read more